


Blog
High Level Grounding Simplified
Introducing the Easy Solution to Properly Grounding RELs

For years, REL owners have contended with a myriad of options when it comes to connecting the REL High-Level Connection to their amplifier. These permutations of connection methods were layered on over time as amplifier technology changed. We recognize that the number of connection methods is slightly daunting to any first time REL user wanting to connect High Level. If you can believe it once upon a time, there was only one way to connect.
Well, those days of an almost universal solution are back as we now have one nearly perfect and simple High Level connection method. It works for Class A/B, Class D, Balanced Differential, Class G, Class H, and chemistry class—no, wait that’s an overreach. But for every amp whose chassis connects to ground, which is most of them, this universal solution works perfectly.
THE REVEAL: If you just want to cut to the chase and learn that virtually ALL RELs and ALL amplifiers can be connected using one simple universal connection scheme, look no further.
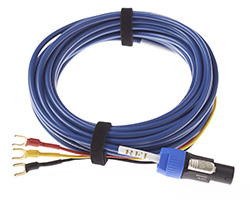
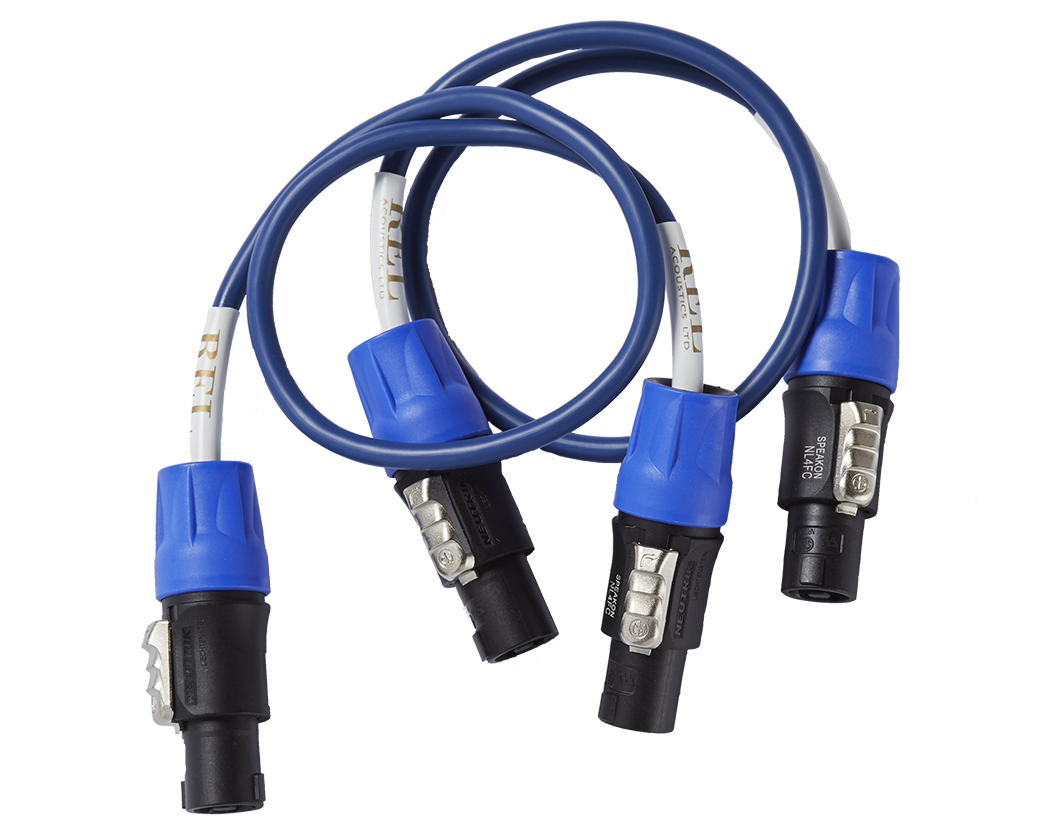
1. The Red and Yellow wires are universally known as hot wires. Connect these to the positive binding post on your amplifier
- If you have one REL with a stereo amp or receiver connect red to the right channel + and yellow to the left channel +. Nothing new here… proceed to step 2.

- If you are connecting a single REL to a single channel whether it be a Monoblock amp, the center channel only or running a Stereo pair of RELs, twist the Red and Yellow wires together and connect to the corresponding positive binding post on your amp. Nothing new here either… proceed to step 2.
2. Here is the NEW part… get ready, it’s so simple it’s genius. Attach the Black ground wire on the REL High-Level cable to a chassis grounding screw or bolt on the rear panel of your amplifier or receiver. That’s it. Nothing more. You’re done.
* A note about locating a chassis grounding screw or bolt:
- If you have a Phono stage on your integrated amp or receiver the Phono ground screw is going to be the easiest place to ground the black wire.
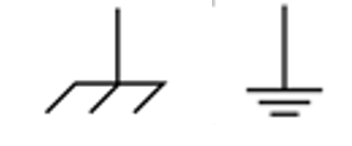
- Your next easiest option is to look for a thumb screw, Antenna input, or an actual screwdriver screw with one of these symbols or next to it. These are Universal Grounding symbols.
- If you don’t have either of these options don’t fret, tap the bare copper wire of your Black wire to a screw or bolt. If your REL was previously humming and it stops, you have successfully located a ground reference point.
3. It really is that simple!
We’re pleased to be able to share this simple, foolproof way to achieve proper High-Level Connection of ground, in a way that is safe for any known amplifier genre. You can find diagrams and videos about this new method on rel.net and our YouTube channel.
Thank you for reading our latest blog. We strive to provide content that’s both entertaining and educational.
If you have questions or suggestions for future articles, reach out to us at contactus@rel.net. We value your input and will do our best to respond within a few days.
With over 160 years of combined experience, we’re committed to making your audio experience exceptional. If you found value in this piece, please share it with friends who might benefit.