


Blog
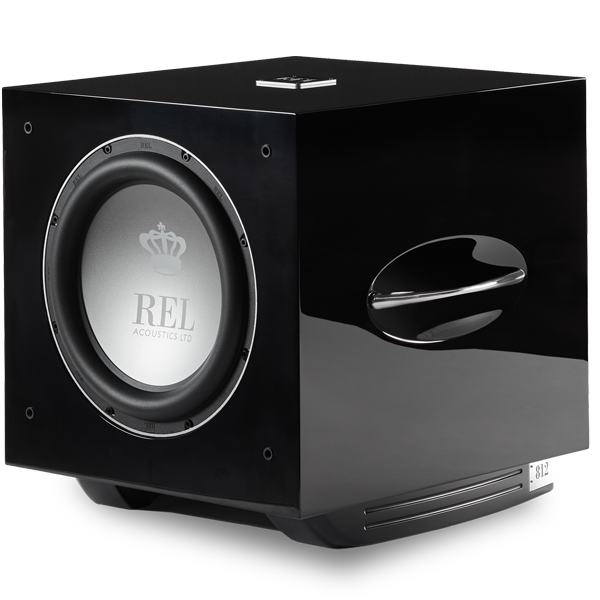
How to clean a REL Acoustics Subwoofer as well as most speakers with a high gloss finish
The text below is a transcription of the video
Hey there, John Hunter with REL here, we’re going to discuss actually how to properly clean subwoofers that are painted out in these beautiful high gloss lacquers. We see so much damage being done regrettably, often in Hi-Fi stores as well. The first rule is never dry polish anything that has a shiny finish.
Don’t do it to your car. You will ruin the paint. Don’t do it to our subwoofers. You will ruin the paint. Really simple materials just to do this basic cleaning. This is a microfiber cloth. I’m going to show you how to trim the edges to get rid of these nasty, sharp gouging edges. Now we’re using Griot’s garage calls it speed detailer.
We love the mother’s stuff. We love the Meguiar’s. All these spray mist detailers are fantastic. They’ve got surfactants, they’ve got small amounts of synthetic waxes to leave a nice, shiny finish behind. But most importantly, it acts as a lubricant. So I’ve already trimmed off most of three of the edges
and most of this one. The reason I’m doing this is it’s not like the cloth that they use, but the actual thread that they use to bind these edges on these borders to these cloths can really scratch things up. So we’re just going to trim the last little bit and oh, these lovely things are like take a machete to your subwoofer.
It goes much faster if you want to destroy it they’re awful so get rid of the tag first. And let’s just cut this last little bit off. Get rid of those sharp edges they’re often an acrylic based threat of some kind. It’s like, could you not understand the purpose for a microfiber cloth? I mean, let me, let me be very clear
it’s supposed to be soft and absorbent and do all these nice things. And these are, these are inexpensive cloths bought at a local auto parts supply store, nothing fancy at all. I’m going to just get a little bit on this one side, just so that we don’t run the risk of getting anything dry and just a very quick light spray.
All right, this is it. Couldn’t be simpler. We’ll show you the side that’s been done and the side that hasn’t. When we get done here, we’ll push in and you can see the results of this it’s quite striking and it doesn’t leave residue behind. Just really quickly rotating your cloth we turned . It inside out and finish up.
You know, we go into stores all the time. We’re calling on them. We’re helping them set things up and every morning those stores should be doing this to anything that’s a piano lacquer. Not just our product, but also the high quality speakers. Often they got these beautifully styled and sculpted heads that are finished out in piano
lacquer. Look, take a little time, a little pride and get this right. It results in an absolutely beautiful product. And significantly you can do this over and over again. As long as you’re using these basic tools, little high quality mist detailer, and a good microfiber cloth. Again, as I said, this is part of like a six pack that you can buy for about $10.
And as long as you cut off the edges they’ll be perfectly adequate for the task. So one final tip. It happens to all of us at some point, you’re going to be doing something you need to get over here and do this. And you accidentally dropped the cloth. At that point, stop put it into a laundry hamper, clean it, wipe it.
When we do cars, we just throw them away. You’re never going to get the stuff that’s embedded in these microfibers. There are literally billions of individual fibers in this. You’re never going to get that stuff out of there. So as soon as you do it, just go, that’s why they sell them in six packs. I’m reasonably certain, but if you know what you’re doing, the moment that it drops on the ground it’s completely unusable.
So that’s it. If you own one of ours clean it properly, enjoy.