

Blog
How to Tune a REL
Stereo Pair Tuning Guide
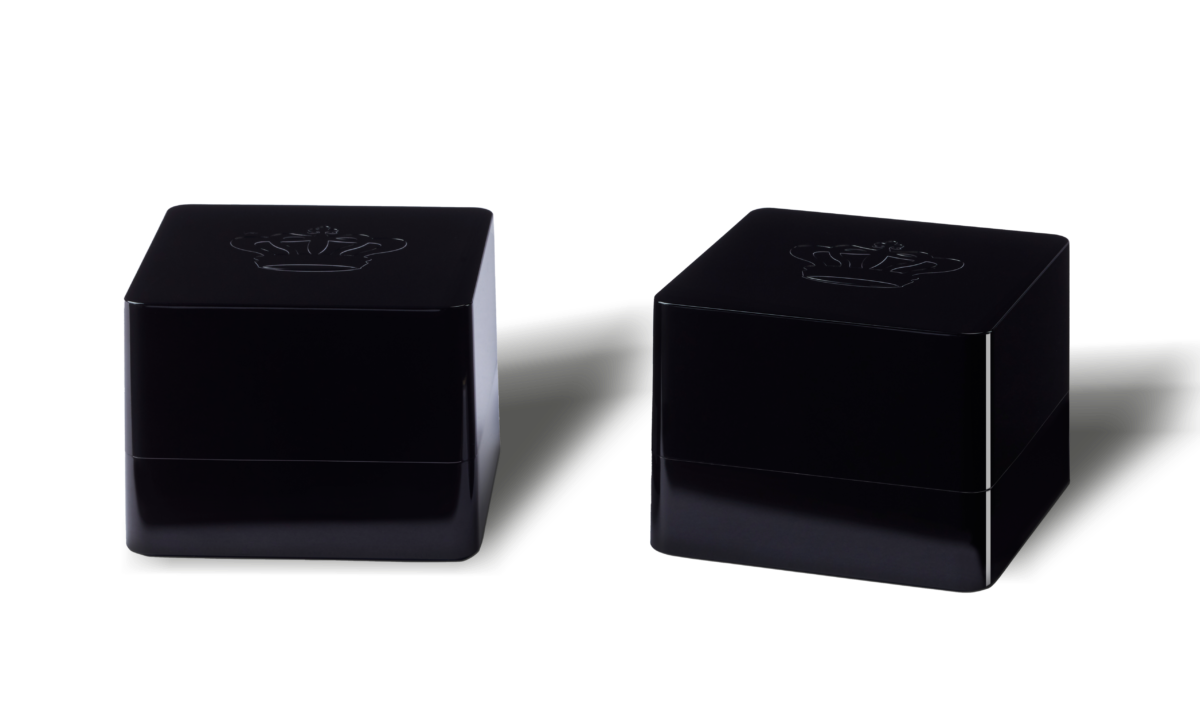
Using two RELs also known as Stereo Sub- Bass, is advised for the fastest, clearest, deep bass- not for more output. Conventional wisdom has it that stereo subs results in between +3to +6 dB additional output depending upon positioning. In and itself, this is of only passing interest in most instances since even a single REL is capable of profound output. What then, is the point to adding a second REL?
In a word, clarity. Clarity that permits “seeing” back into the farthest reaches of the sound stage. Clarity that illuminates all dimensions of the musicians and the space that they inhabit equally and enhances the natural reality of a great full range system, as only RELs can.
Set-Up
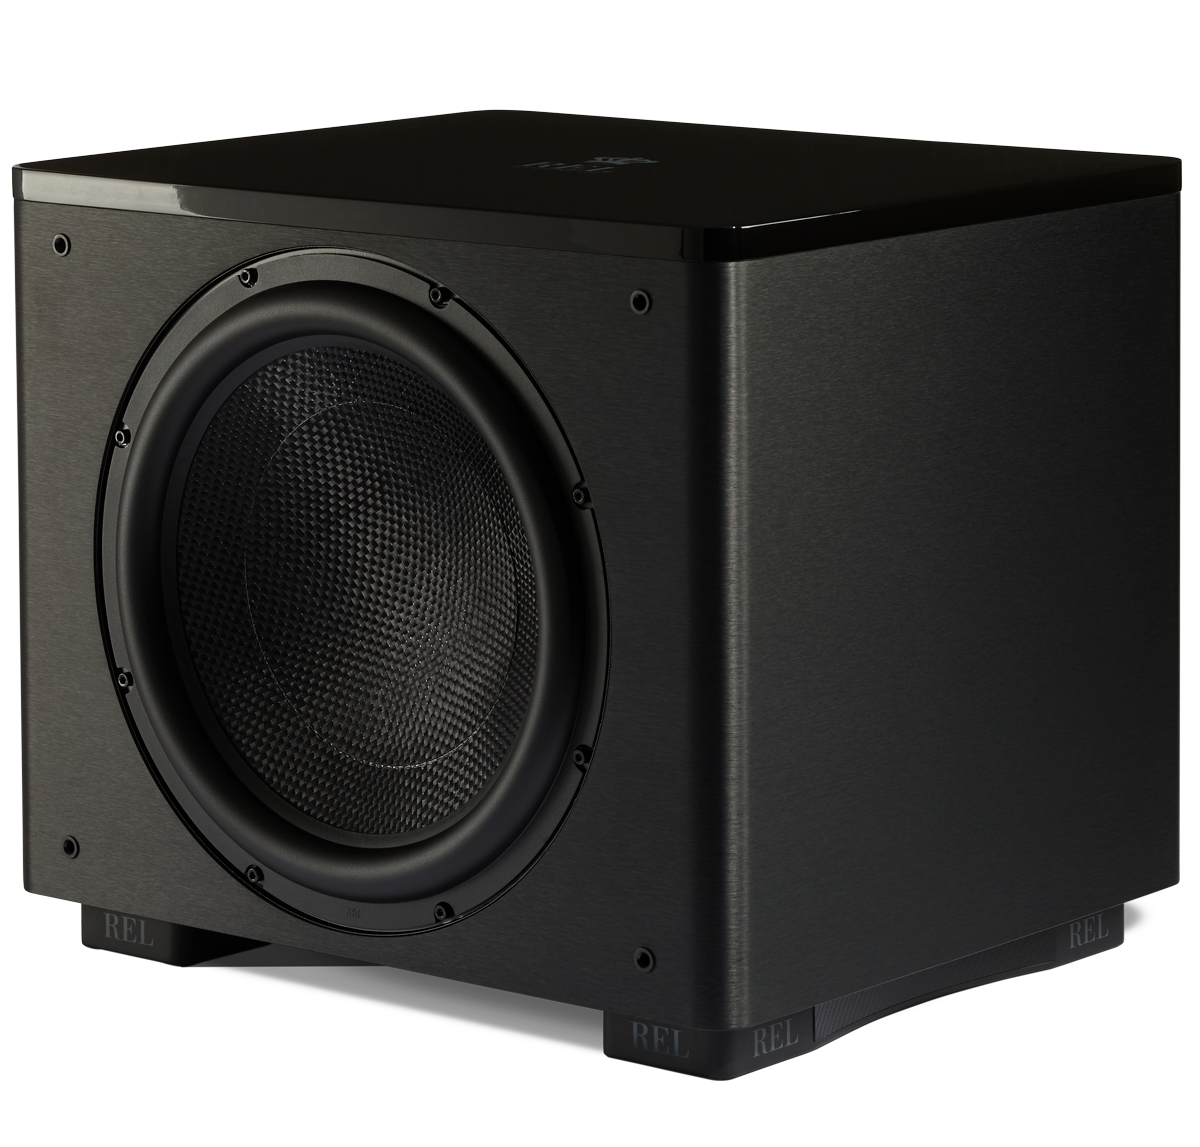
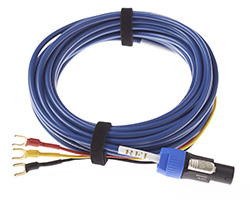
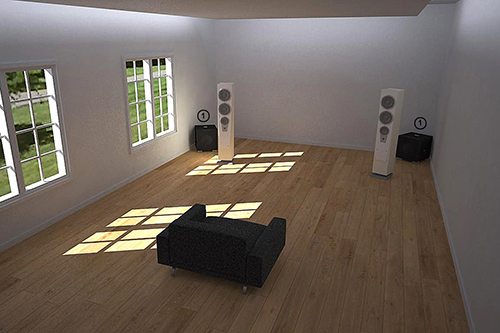
When setting up Stereo RELs, it is possible to place both units in the front corners of the room, carefully toed-in and placed per normal REL guidance. Connect each sub to the speaker terminal outputs based on the following diagrams for standard stereo amp, non-balanced mono blocks, or balanced differential mono blocks.
Set each side up independently. Disconnect the sub that is not being set-up so your complete focus can be given over to the sub that you are working with. Carefully follow the guidance provided below for phase orientation, corner fine tuning, orientation, and final settings.
To begin the set-up process, choose a piece of music that has a repetitive bass line that is very low in frequency. We suggest track 4 from the soundtrack to Sneakers (Columbia CK 53146). This has a repetitive bass drum throughout that gives you plenty of time to move the woofer around. This track is perfect for the set-up process and should be played at the highest reasonable level expected for system playback.
Working with a partner, one in the listening position and one at the REL manipulating position and controls is the most effective an efficient way to set up. If working alone, corner fine tuning and orientation can be effectively carried out from the location of the REL. Try to ignore all other music in the track, listen to the bass drum and its effect on the listening room.
Phase Orientation
With the REL in the corner the first step is to adjust for phase. Keep in mind that the right phase is whichever position (0 or 180) is the loudest for fullest. While playing music with true low bass, adjust the crossover to a point where the REL and the speaker are sure to share frequencies. This should be at 20 clicks from the minimum setting (12 o’clock) on the Crossover control. At this point turn the High/ Low Level control up so that both the REL and speaker are roughly equal in volume. This should be 15 to 18 clicks from minimum (10 to 11 o’clock) on the High/ Low Level pot. Now move the phase switch from 0 to 180 positions and listen for whichever position is loudest or fullest. That is, when the position is working in harmony with your main speakers, reinforcing bass not cancelling it. Sometimes is helps to concentrate on the leading impulse of the bass note, noticing if it is timed with the speaker. If the impulse lags the speaker’s response or if it sounds like the impulse is late, then the REL is out of phase. It will be best to determine correct phase when in the listening position, so this process will require walking back and forth to the REL if determining phase orientation alone.
Corner Fine Tuning
The next step is to determine precisely how far from the corner the sub should be placed to achieve the most efficient output, as well as the lowest frequency extension. With the REL fully into the corner, and pointed to the opposite corner, continuing to play the music, slowly pull the REL from the corner on the diagonal, line to opposite corner, equidistant from both side and rear wall. At a certain point (sometimes a matter of only a few inches, in rare cases a foot or more) the REL will audibly play louder, go lower in frequency extension, and, if truly pressurizes the room, the air around the REL will seem to be energized. Stop right there! This is the correct position from the corner for the REL.
Orientation
Once the position from the corner has been established, the orientation of the woofer must be determined by rotating the REL from an imagined centre point at the rear of the REL. As the REL is rotated from one side to the other, listen for the greatest level of output. In effect, the REL should be left in the position where it is playing the loudest and lowest. If the REL is on carpet, at this point physically push the REL down into to lock it in place and provide the greatest coupling to the floor.
Final Settings
Now move both the High/Low Level control and Crossover control to 10 o’clock settings (15 clicks from minimum). In most cases this is just about where the settings will end up. The Level control should be at a setting where you can hear the REL even with the main speakers playing. This is Generally 15 clicks +/- 3 clicks. The Crossover control should be set to where the sub bass is not overpowering or sloppy. It should be in time with the impulses of the main speakers so you can hear the depth and dynamics of the low frequencies. Again, this setting is generally 15 clicks +/- 3 clicks.
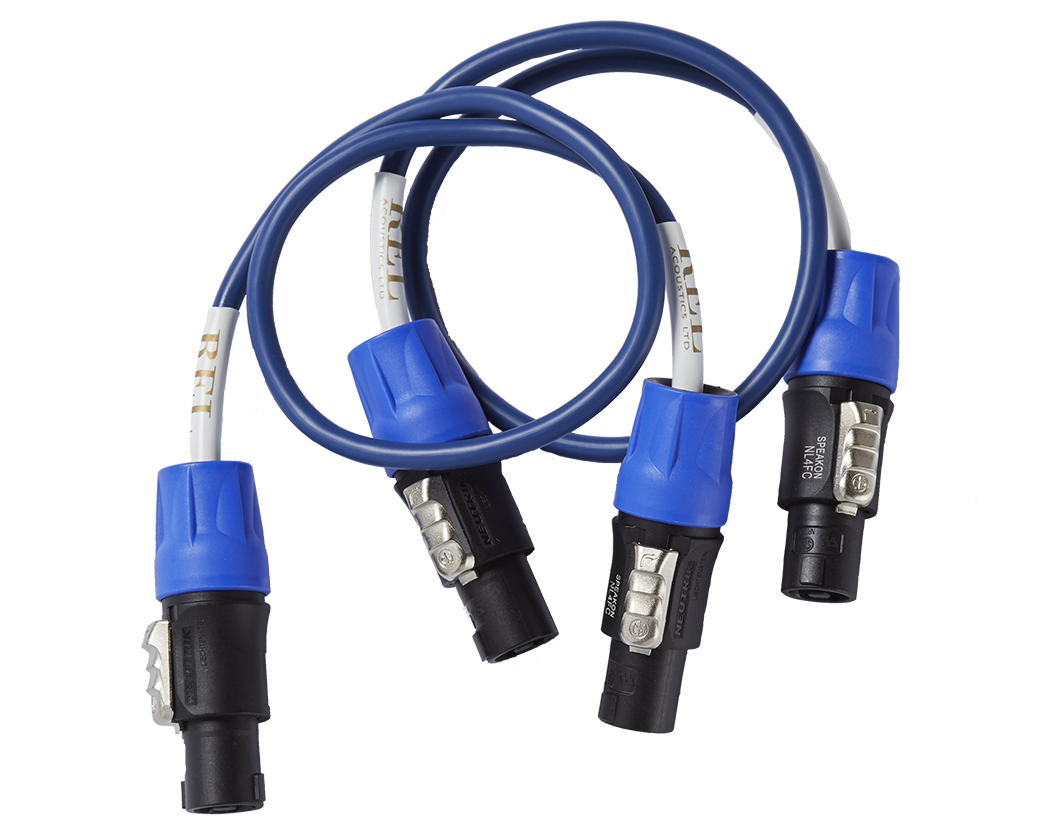
Once each sub has been carefully tuned, attach the cables for both subs. At this point, the output achieved will be too loud and will require re-setting the level control of each REL lower. This is normal as the combined output is likely to be at least 3 dB louder with both subs now being used. Turn the High/Low Level control down on each sub until perfect balance is achieved, typically 1 or 2 clicks. While turning the left or right sub down, it is helpful to turn slightly and even lean slightly toward the side that is being adjusted to better achieve focus and a balanced sound level. Obviously while working alone, this will require trips between each REL and the listening position.