Blog
Subwoofer Phase Setting
How to know whether 0 or 180 is the proper setting for your subwoofer
Updated September 18th, 2021
OK, so you’ve followed the basic steps to get your new REL up and running. You’ve adjusted Hi/Lo Level (Gain or volume) and you’ve gotten the Crossover control set pretty well. The next two steps are necessary to getting the most out of your REL.
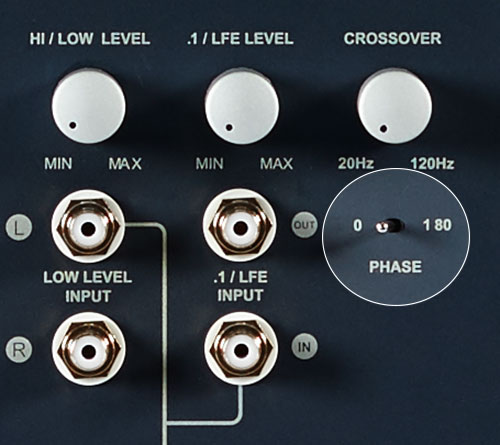
Phase
Phase is one of those words that seems to paralyze people who aren’t technical. It makes many folks feel that this whole setting things up business is too technical and they simply can’t do it. We’re going to make it simple, so you can get the most out of your REL.
Phase, used in the context of RELs is a simple Yes/No digital decision. The question you are asking is simple, “Is it louder when I flick the switch to 0 or to 180?” These numbers relate to degrees of phase but there is no standard for where we begin, so it is simply important to understand that either 0 degrees or 180 degrees will be correct for your system’s complex combination of phase that has flowed through to your speakers. In other words, there is no intrinsic correctness to either 0 or 180 degrees as your final listening result.
The reason you are selecting the louder of the two options (0/180) is basic physics. Your speaker’s bass driver should be pulsing outward on a bass transient, like a kick drum’s “thump”. For your system to be properly aligned to this action (professionals would say being “in phase”) your REL needs to similarly have its driver pulse outward on the same kick drum thump. If we reverse the orientation at our phase switch, that means our driver will be moving backward as your speaker’s driver is moving outward. This means we are cancelling bass from your main speaker, thus reducing the overall output of bass which is obviously counterproductive.
We warned you it was simple to do and easy to grasp both the importance of, and the correct method for, adjusting phase.
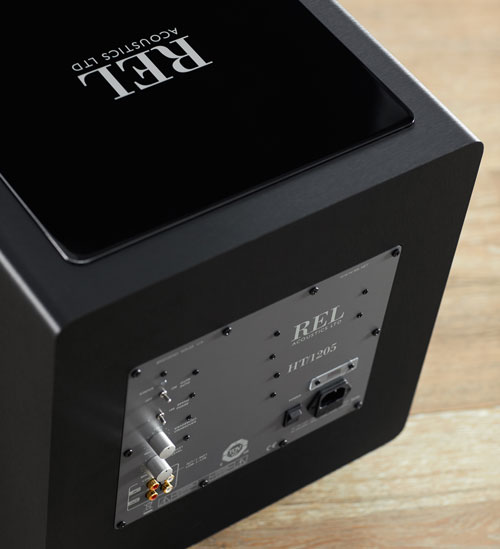
A note; the difference may initially not seem terribly obvious. It can at first seem relatively subtle. And if you have the subwoofer’s volume turned up too high for this test, so as to swamp the speaker’s contribution at the sub, try turning it down a little so it blends. Just count the clicks so you recall later that you turned it down, say, two clicks. Conversely, if it’s too soft and that’s why you can’t tell easily, bring it up a click or two and note your click counts so that when you’re done you can return the Level setting to what is correct for your listening position.
Physical Positioning of your REL
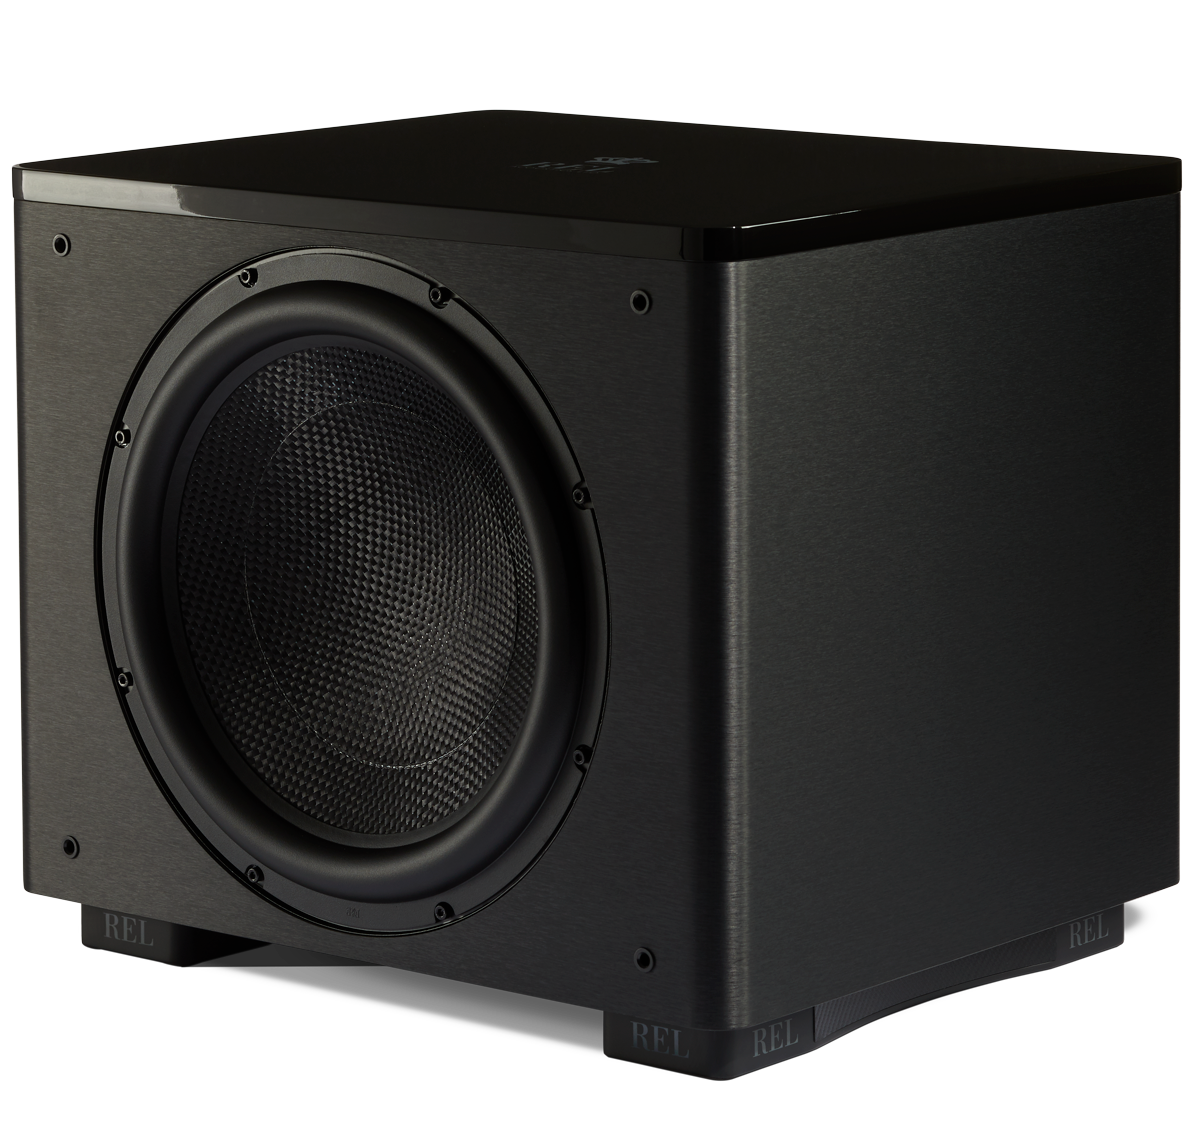
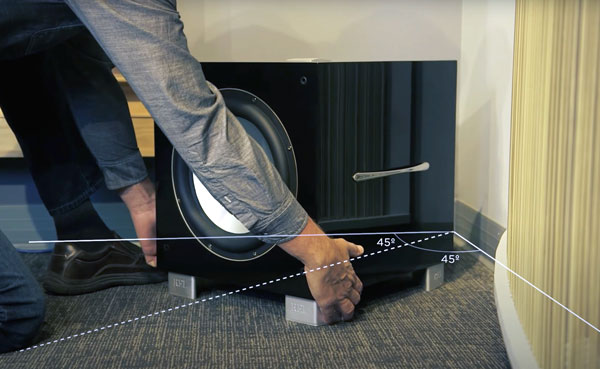
ProTip: toe-in, or turn your REL inward toward the listening position such that the REL is pointed at the most important seat, yours. If using pairs, do so for each REL. This step is unnecessary for Tzero MKIII and T/5x as those models have no forward-firing driver.
While it’s beyond the scope of this article to dive into advanced listening protocols, learn to rely on your own hearing. Presuming a position close to a corner as a starting point, begin with it as far into the corner as possible without actually touching the walls or the baseboard. While using your reference setup cut (we have used track #4 on the cd soundtrack to the movie Sneakers for 25 years and it remains simply the finest setup cut known) having performed all the other control adjustments, begin slowly to pull your REL forward on the angle defined as being directly at your listening seat—helps to put down a piece of blue 3M painter’s tape aimed at your seat to act as a guide. As you pull it out at a consistent SLOW draw, stop the moment you hear a momentary increase in the amount of bass being generated by your system.
Mark it precisely with another piece of blue tape—two ideally, one forming the boundary of the side of the foot and the second marking exactly the boundary of the front face. Now, continue doing so stopping and marking each such node for a distance of perhaps 1’ out from the corner. You’ll likely have 3-4 sets of tape marks on your floor or carpet. The original position deep in the corner will always deliver the loudest deep bass. But listen carefully to your other 3 marks being careful to place it precisely on your boundary markers as being even as little as 1/8” or 2 millimeters off will blur your results.
You will want to select the tape marks that deliver the best balance of deep bass, speed and clarity and the ability to produce clean, low bass rarefication of air; that quality where the bass seems to simply shudder and move air without sounding thick or boomy. If it sounds perfect but just a little lacking in raw output, feel free to adjust the High/Low Level a click or two higher. If the level is fine but the sound is too thick and heavy reduce the crossover a click or two.
If this seems at all complicated, it’s not. Blame it on my inability to communicate quickly and easily. In fact, once you’ve done it once or twice, you’ll find it works really easily and users have reported that it can sound far superior to the various room correction software embedded in the various receivers out there.
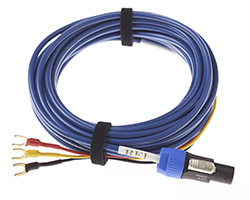
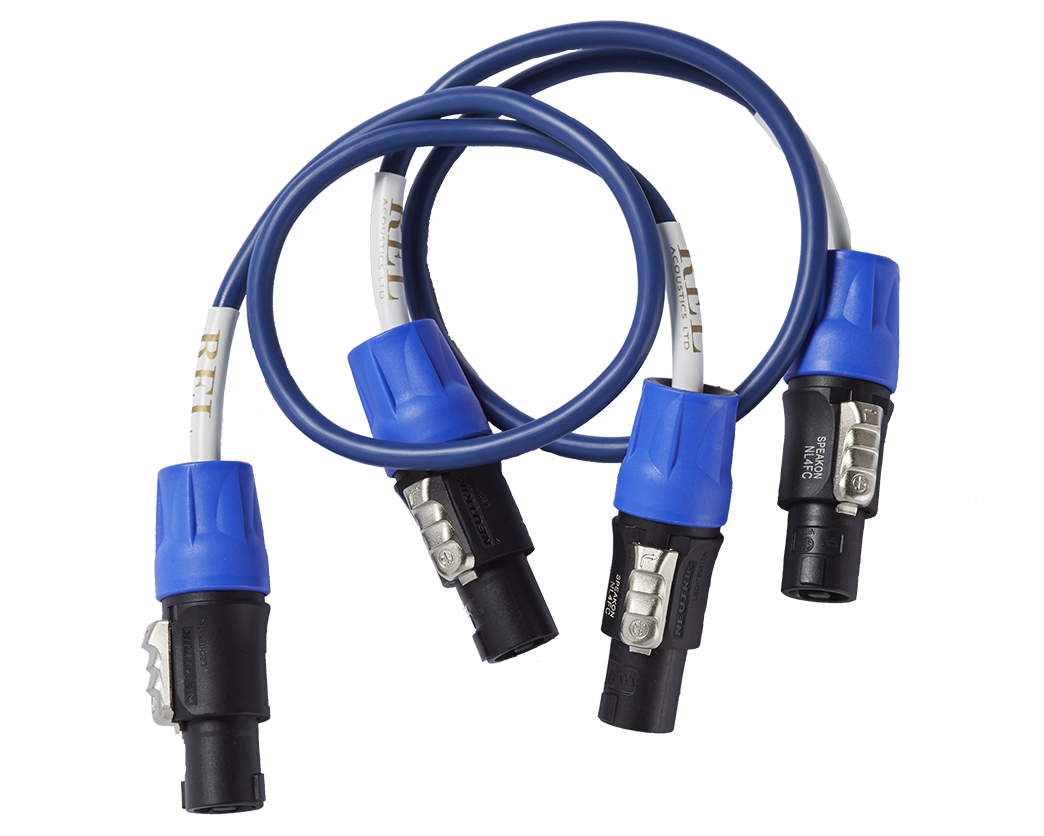
On that note: a warning that if you plan to use room correction, please make sure you do it WITHOUT the REL plugged High Level or Low Level. These systems are easily overloaded in the bass (you expected an included $3 microphone to handle deep bass properly?) and will destroy the bass qualities of a REL that has been properly setup. Simply disconnect the High Level connection from your REL at the Speakon prior to running room correction.
Enjoy your new REL and we hope these careful directions both allow you to obtain incredible results from setting one of oneself, as well as a bit of confidence that comes from learning a new craft. Greater trust in oneself is critical to getting better performance and ultimately to enjoying listening to music and movies as much as possible. Thanks for joining us today!

