Blog
Adding 3D to Theatre Pt. 1
Perhaps you heard about a technique we’ve been using in high end theatre for years, but the cats out of the bag now as more and more customers and stores begin to shift over to REL 3D for home theater.
Note: If you already own a REL HT model, Pt 2. Will cover how to expand your theatre performance to REL HT/3D.
What is REL 3D (or HT/3D)? And do I need to jettison everything I already own and start over?
Starting with the last question first, the answer is a resounding “No, absolutely not.” REL 3D is a simple technique that allows normal people on a variety of budgets to come closest to achieving the promise of Dolby Digital™* as defined by Dolby Labs** back in the mid-90’s.
The fundamental premise of Dolby Digital was 5 independent channels of digital audio each running Full Range, each individually controllable for volume level and time delay. Add one more special effects channel for Low Bass (the LFE channel) and you have the makings of a revolutionary system for brining screening room theatre to the home. And then the mid-fi guys got ahold of the messaging. Things got dumbed down, no big company wants to teach technique, they want to sell convenience. THX tried for a bit but ran out of steam eventually. And then Room Correction systems arrived, guaranteed to deliver mediocrity but doing so under the imprimatur of “science”. What did not get taught from inception till now has been the “How of it All”, as Winnie the Pooh might say. We’re going to set that record straight in our usual simple direct method.
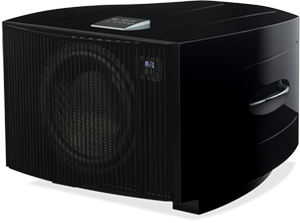
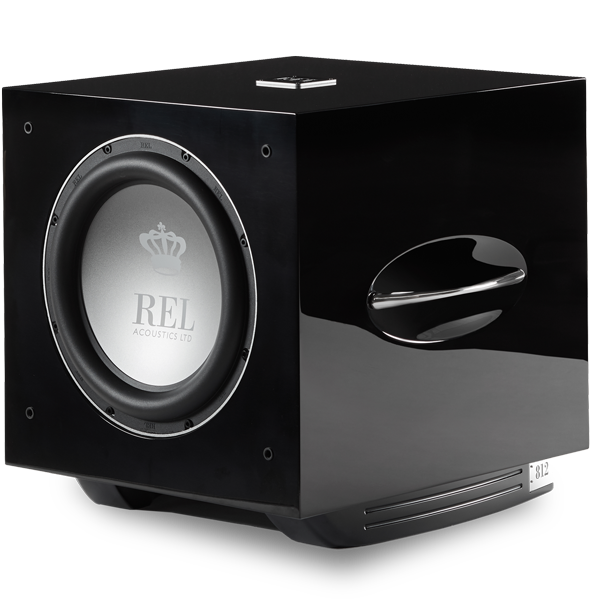
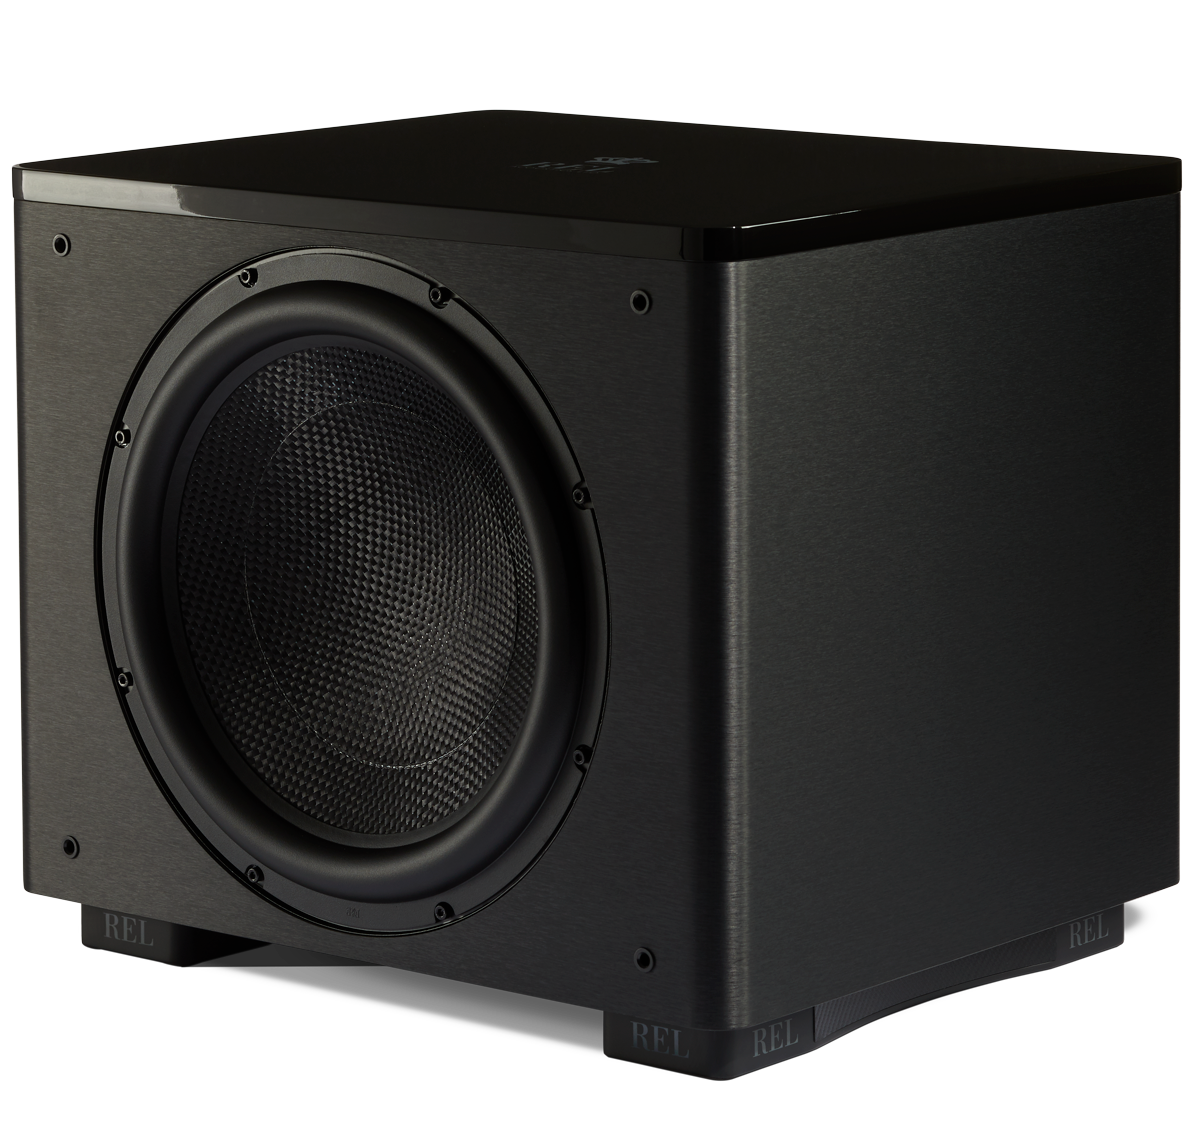
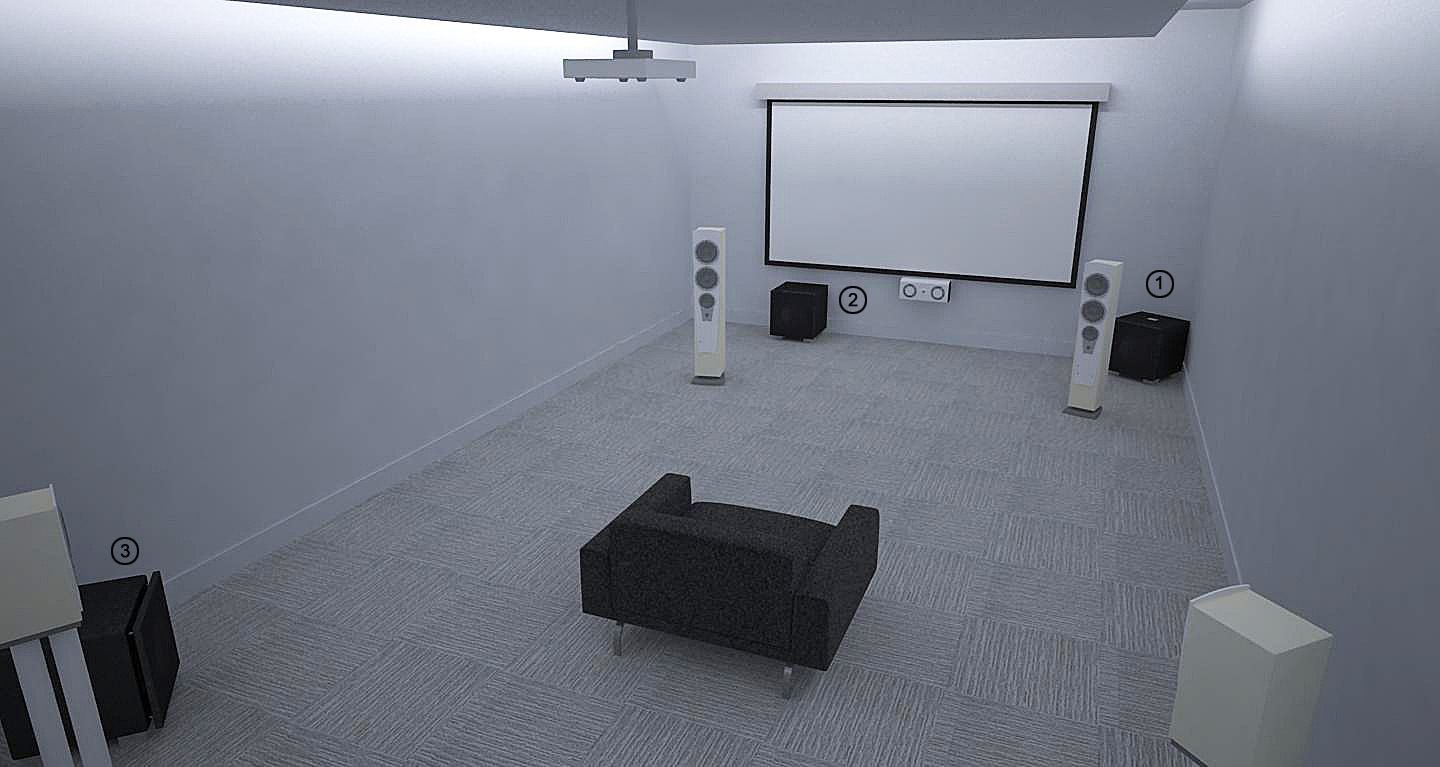
Below, we’ll use a theoretical system based on a Serie S/812 for the L-R mains, a T/9i for the center channel and an S/510 for the rear channels. If this is already over your head, start with theater basics. You might own a Serie T or T/I main sub, say a T/9i and in this case the two additional models would both be T/7i since the added clarity of this model over the T/5i benefits the center channel so well. So T/9i, T/7i for center and T/7i for rears.
Pro Tip
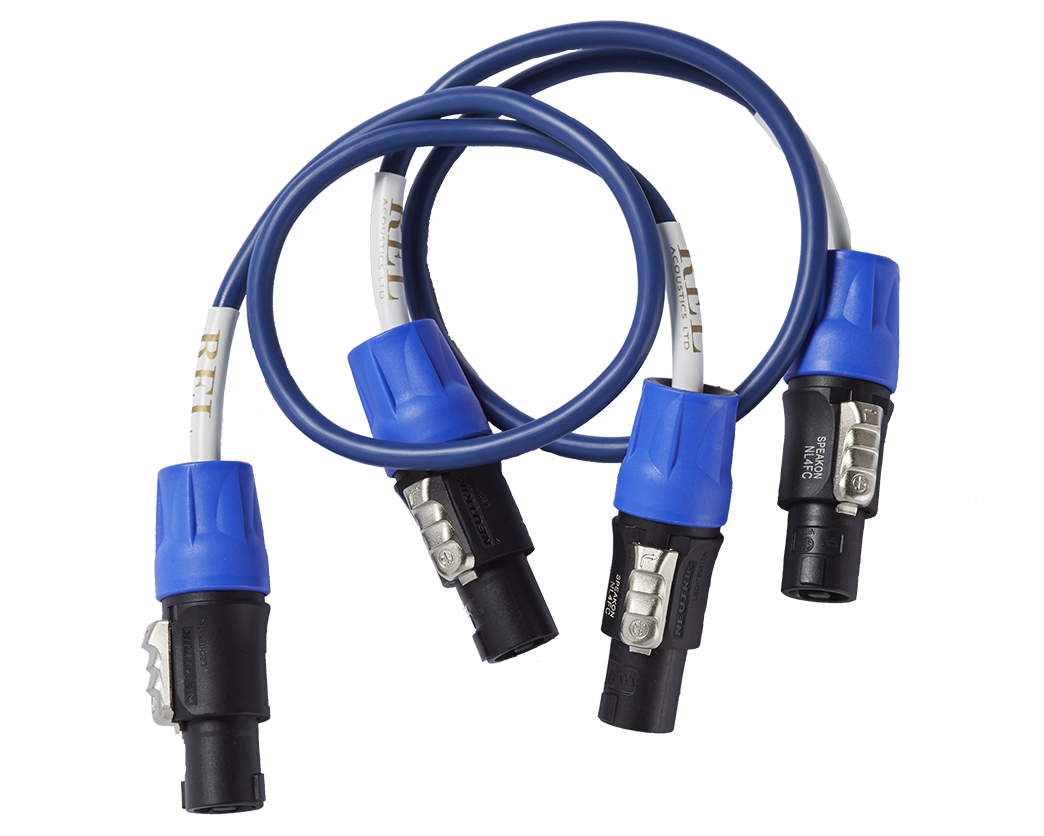
It is critical for all speakers to be able to handle Full Range settings in your AVR menu. Cheap surrounds incapable of delivering bass below 120 Hz need not apply.
23 years ago, I sat down with Terry Medalen (now of Primare) back when we owned a company called Sumiko and we spent around a month wading through first Dolby’s white paper on 5.1 (7.2 etc. are derivative of the original 5.1, if you get 5.1 right, everything else follows). Terry was a guest instructor teaching the history of film sound each Summer at Chapman College in Southern California in their prestigious film school. We then began running experiments. What we arrived at was the least expensive way to deliver the promise of Dolby Digital. It was to run a minimum of 3 RELs (from whence REL 3D, for the 3 REL subs needed to deliver Dolby):
- Primary and largest sub to anchor the L-R Main Speakers. These days, it’s much more likely to be a stereo pair but a single gets the job well started.
- Center Channel sub, usually the smallest of the three but trust us, you won’t want to hear a center channel unsupported by a High Level-connected REL once you’ve heard what it does for the mains.
- Rear channel sub(s) being the second largest sub(s) used as the rear channels are responsible for creating the three-dimensional immersion and for accurately conveying the spaciousness of any scene. It can take a fairly large sub to recreate space accurately.
I stress, this was the least expensive way to achieve a fair representation of Dolby Digital, meaning full range sound to all 5 channels. I know it’s de rigeur to refer casually to 20 Hz bass extension (which, if you are looking for natural sound and speed can be very expensive indeed) but our findings revealed that getting bass down into the mid-20 Hz range from a normal speaker’s 40-50 Hz delivery is truly transformational. Getting each of the three speaker groupings to deliver this was HUGELY important to restore the spatial and special effect-driven cues Hollywood so very much wants you to experience.
Where Left and Right Meet, Magic Happens
It is critical to understand what each of these three groups are tasked with delivering in a well-constructed theatre. The front L-R mains should be setup as carefully as any high end two channel system. Get this wrong (front stereo stage) and your theatre has no contextual foundation, even though the center channel puts out more sound. That’s because the L-R mains define the entire front stage. Time spent setting up the L-R mains will result in a system capable of supporting 2 hour movies without growing antsy or annoyed by the experience. Please don’t change levels as the midfi guys with sound pressure level meters insist, just set them up well and they’ll deliver a perfect stage.
Then set your front channel delays to 0 because the rest of the system relies on the timeline created by getting the L-R main stage correct. Don’t waste processing power by creating settings that are unnecessary. It slows down the processor and reduces dynamics and clarity. The forgoing applies to most people who don’t own a Marantz or Denon product. For the past 5 years or so these brands have limited customer control over running one’s theatre Full Range (but these same companies allow Full Range for 2-channel music), limiting it to, at best, extension for the main speakers down to 40 Hz and severely hampering their owner’s ability to experience the totality of what Dolby Digital was designed to deliver. As a former Denon employee many years ago, this pains me to see.
Center Stage
Within this front stage, the center channel resides and delivers virtually all the dialogue and most of the special effects within the front stage. Get the level and delay correct and something remarkable happens as the front stage begins to dance; spoken word commingling with background effects. This, this ineffable quality of achieving perfect balance with truly full range sound down into the deep bass that results in 3-dimensionality and transforms the home theatre experience.
ProTip
Setting volume level too high will kill this effect instantly. Listen intently to the pink noise used by most receivers/processors and set level as accurately as possible. Then move to delay settings within the AVR’s menu. Since most front speaker’s positions are limited in how far forward the main speakers can be of the center channel, it is necessary to add electronic delay to restore accurate launching of sound from the center channel. When set to “Feet”, begin with a delay setting of 3 feet (1 m for metric settings), if this renders speech less intelligible, then set the number to 2. If speech remains staccato, a little harsh, then increase this setting to 4 or higher. It’s fairly easy to achieve this balance in practice. Find a modest scene with lots of background atmospherics. We use chapter 3 in Fantastic Beasts and Where to Find Them (American version, chapter sizes and locations vary by market-see photo for the correct starting image and use the next 15 seconds until the truck passes by). Connect this REL High Level only, the T/9i in our sample system (or T/7i if you are building a T/i-based 3-D system).

Surrounded by Greatness
Finally, we get to the surround speakers whose primary function—and it’s a whopper—is to drop the viewer into a 3-dimensional Holodeck. Literally, in a well-engineered blu ray you can be floating in space or trapped in a giant cavern, miles underground while sitting comfortably on your couch or quality home theatre seats.
This requires quality speakers set to Full Range. A word about that, note the use of the word “quality” in the preceding sentence. I did not say “heroically expensive”, I said simply, quality. A decent pair of well-designed 6.5” (170mm) two way speakers does brilliantly in most cases. In smaller rooms and theatres that don’t cost an arm and a leg, Pro-Ject Audios incredibly high value 2-way 5 ¼” (150mm) Speaker Box 5’s at $399/pair work brilliantly. For those seeking to hide speakers, high quality 6.5” and especially 8” in-ceiling speakers can do wonderful duty in a 3-D system and are virtual must-haves for Atmos to work as intended.
The REL S/510 in our sample theatre (second T/7i or another T/9i for a smaller theatre) should be run with both High Level and .1/LFE at the same time. The High Level simply restores your speakers to truly full range devices while the .1 supplies the extra grunt needed to sell the biggest special effects.
REL 3D can be put to work for everyone with even the most basic REL-based theatre. Upgrading one’s basic theatre to a REL 3D system often takes place in stages. Assuming you’re already using a classic REL, the next step is to add a smaller forward-facing REL connected High Level-only underneath (anywhere in the middle half of one’s theatre) your center channel speaker. This step alone will transform the scale of the entire front half of your theatre and make you aware of the tremendous dynamic loads your center channel has been under. The final step is to place your third sub attached to both channels of your surrounds. Generally, the best choice is to place it diagonally opposite the main L-R REL that resides in the front of the theatre. The surround REL should be connected with both High Level and the .1/LFE feed. In subsequent articles, we will publish delay values and supply screen shots of actual AVR menus properly set.
Step into the pool, the water’s perfect
At REL we’re all about sharing tips and techniques used in hundreds of high performance theatres over the years, many well over the $100k mark, some up in the $500k-$1M mark. Bottom line? We’re bringing what Dolby always envisioned when they launched Dolby Digital 25 years ago. This basic approach of using truly full range (speakers + REL) sent to all 5 channels––more if you’re using a larger Dolby platform––is one used by virtually all major transfer studios. With REL 3-D, one has the added advantage of being able to add it in phases thereby moderating the cost.
Hearing bass seamlessly supporting all the principal channels results in bass that is atmospheric, super dynamic and places you firmly in the center allowing the action to swirl around you. Done properly, REL 3-D is one of the most wonderfully addictive experiences the world of audio offers. And does so for a cost that is extremely affordable. Huge improvements made for relatively small cost when viewed as a percentage of the total cost of the system await you. Step into the pool, the water’s perfect.