Blog
Tackling the Deep End: How to Set up a Subwoofer
Setup tips to get the most out of your REL

When I learned to swim as a kid, I was never just tossed into the deep end. Instead, my parents paid a very nice lady to patiently help me through the process of learning to stay afloat; though I can still remember loathing the lessons in my instructor’s frigid backyard pool.
Perhaps there is an equivalent visual of audiophile “deep divers” discussing how the perfect positioning of their subwoofers helped lift their sonic experiences to unimaginable levels. Whatever the drive, I’m happy you’re taking the plunge.
OK, so where to start? First of all, I want to make it clear that I’m not a master of subwoofer placement, and I haven’t yet taken John Hunter’s MASTERS course, either.
What I am is a musician, recording and mastering engineer, a speaker designer, audiophile and general geek who loves bass and needs everything to sound real and right. And as a testing technician for the largest second hand high end audio business in the world (my day job), I get to hear tons of different subwoofers as well as anything else you can imagine.
So, when you’re ready to dive deeper into subwoofer positioning REL.net is the ideal source for information. It’s your online low frequency oracle, with setup advice, connection tips, and patient guidance through this process. I’ve personally relied on a number of their videos for detailed information when researching a subwoofer in my day job, and even sought advice via video for my home system.
And REL’s channel on YouTube is worth a bookmark or a subscribe while you’re at it. The “How to tune” series is going to be an invaluable resource for you through this process, and going directly to YouTube allows you to “binge-watch” and absorb the information quickly before you get started.
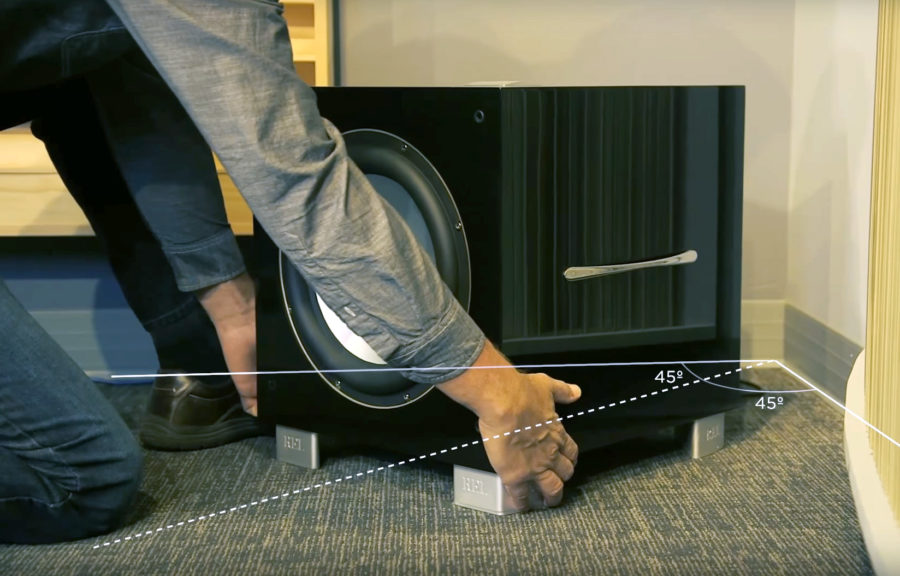
Getting Into Position
Below about 80Hz, in what’s called the sub-bass region, sound becomes omnidirectional. Try to imagine your subwoofer blasting a literal ball of sound around it.
When you think of it this way, and add that the floors and some walls really bounce bass waves well, you can imagine just what an effect the physical boundaries around the sub can have on the eventual sound.
A corner is the most bass-reflective area in our homes for this reason, and you can expect that as a subwoofer’s final resting spot inches closer to one, the overall volume of bass should increase.
I’ve found that putting a sub near a corner can sometimes sacrifice a little upper-bass clarity and overall “quickness” — there is never a free lunch in audio, as they say. But I’ve also set it up in the corner many times for a few reasons, including on occasions where it was necessary to pressurize a massive space, or to fill a space that proved much too small for my usual setup method.
In medium to large rooms, my preferred starting point for subwoofer placement is somewhere on the circumference of the circle created by the speakers, with the listener in the dead center. Usually, I place my subs to the left or right of each speaker, and slightly in front. Maybe 6 inches inside of the actual speaker arc.
If I’m not hearing good sub bass, I work with it a bit more, beginning to consider using a corner as part of the setup. In my house, however, I have a large space that is easily pressurized with the subs away from the corners.
I pay attention to the left and right wall boundaries, and with two subs, I try to make sure the distances from each sub to the closest wall are different. Asymmetry in subwoofer setup is a listener’s friend, because the last thing you want to do is let your room kill the bass by bouncing large, similar-length waves directly at each other.
From these initial positions, I do a bit of moving each sub around by a few inches, listening intently. I zero in on each one, and I can hear when it hits a good spot for most of the bass range. When I’m happy with the positions, I then get more detailed about my crossover and level settings, and I start to manage and tidy up the cables.
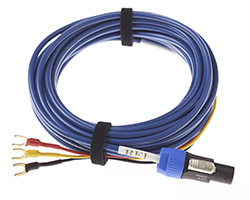
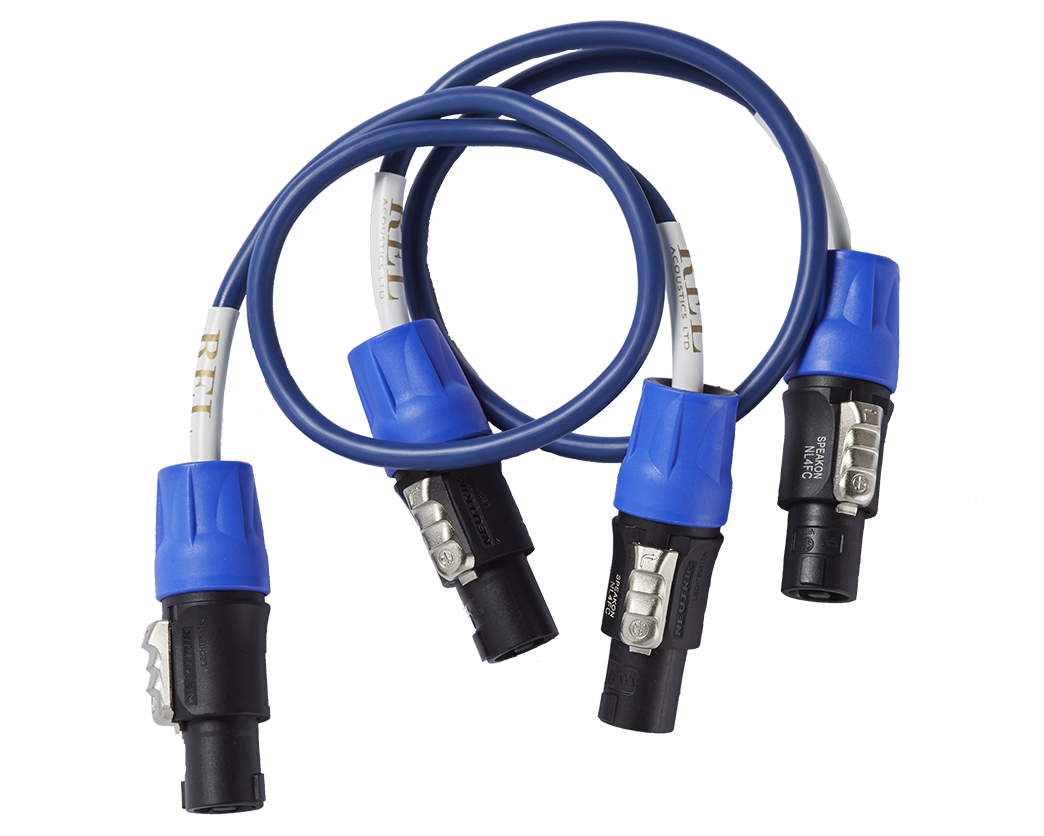
Speaking of Cables
By the way, did you know that you likely don’t need to use any signal connection cable at all? REL has designed wireless capability into many of their subwoofers, and this only helps you as a new or considering REL owner. I’ll explain why.
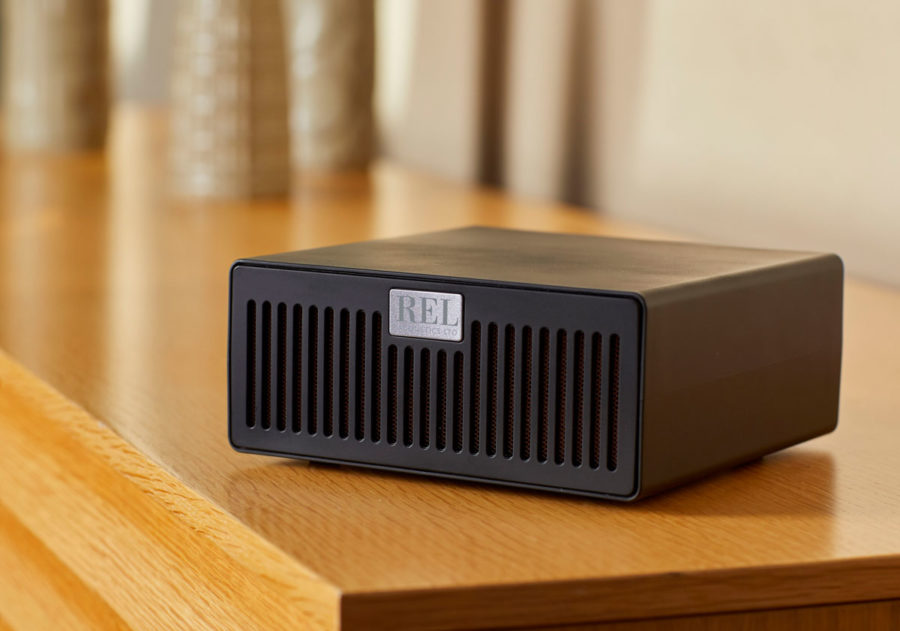
Thanks to REL’s R&D, the wirelessly-transmitted bass is positively equal to the wired sound. So REL takes the hardest challenge of trying to get your subwoofer placement right — maintaining domestic tranquility amid horrible visible wires — and solves that, while simultaneously crafting a gorgeous product that can melt into any well-designed home.
The groundwork has been laid by REL to allow you to focus on the sound, and place your subwoofer or subs where they wring the absolute best out of your system.
Do this for me for me if you’re going through the “Deep Dive Setup” process. Search around REL.net and their YouTube channel and grab all the advice you can. Experiment on your own, and then do not be afraid to reach out when you get stuck. This company, to their credit, is invested in your success, and they are ready and willing to guide wherever they can.
Good luck, and happy swimming!