Blog
Equally Magnificent
How to Extract the Ultimate Using REL’s Dual Parametric EQ’s
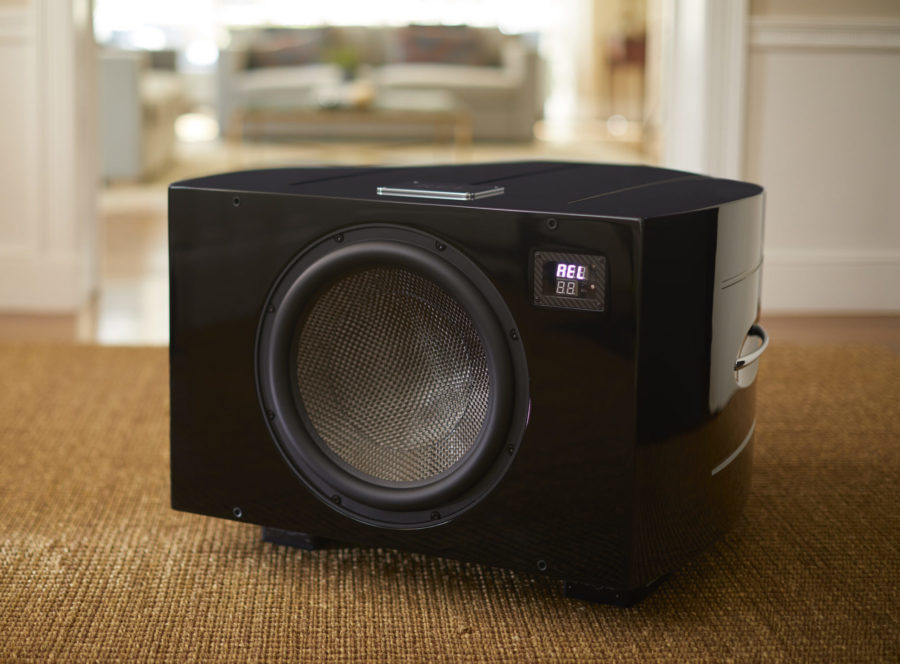
If the words parametric equalizer doesn’t make your heart race, you’re not alone. But read on, because the dual all-analog parametric equalizers built into our newer Reference models are one of the most significant performance enhancers REL has offered in over three decades.
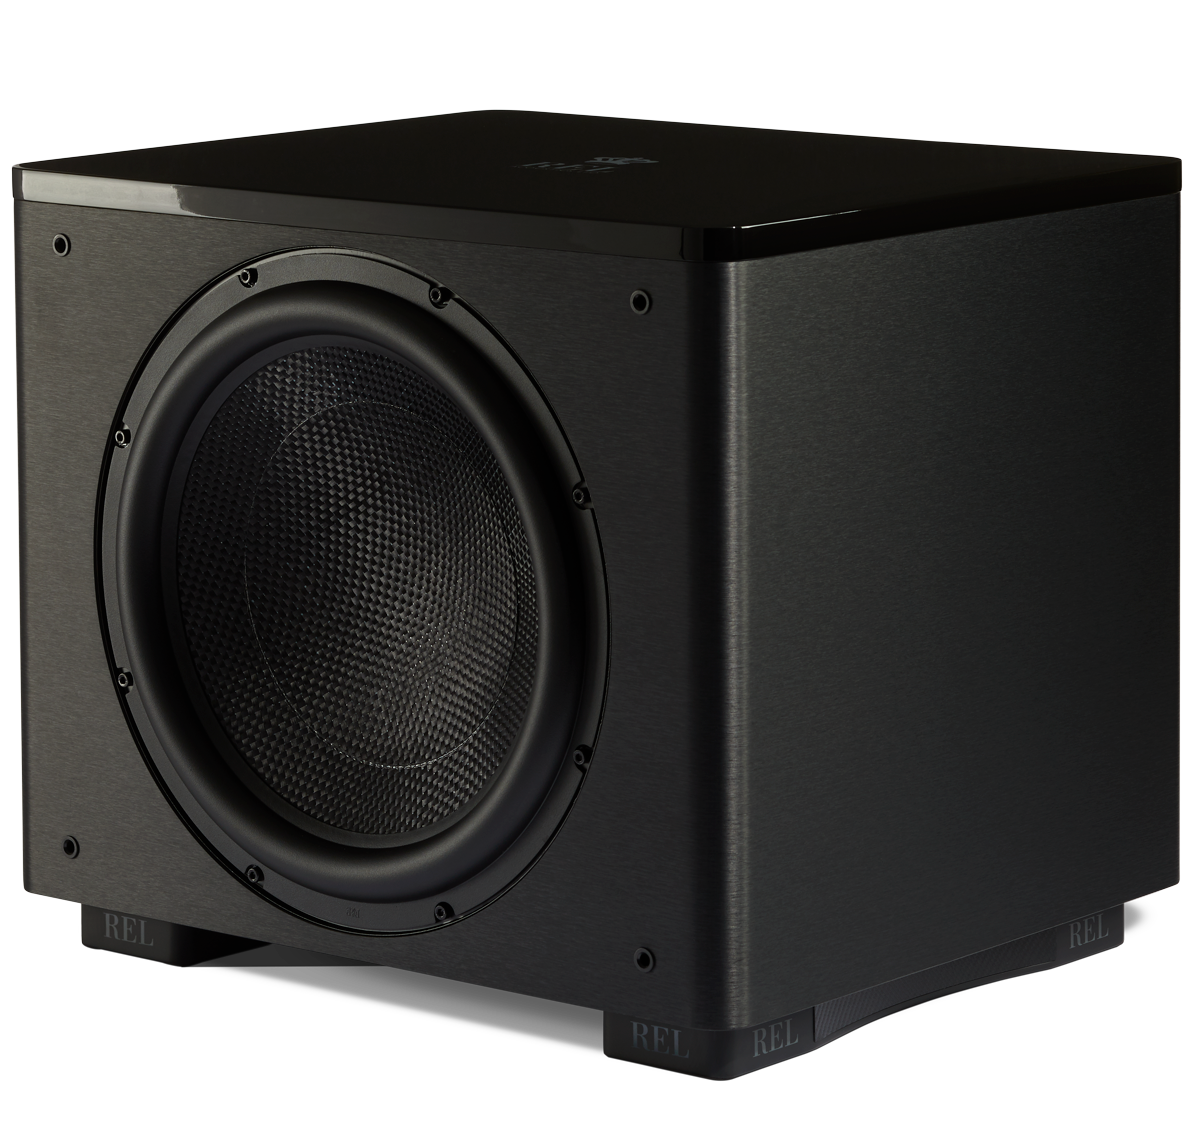
If you own one of our modern Reference models (No.32, No.31, or No.25) you have two (2) of these built into the Reference Filter Board that are the brains and talent hidden behind the performance, and you’ll learn how to use these to their best advantage.
The word parametric originates from parameter, which Oxford Languages defines as:“A numerical or other measurable factor forming one of a set that defines a system or sets the conditions of its operation.” For example, “The transmission will not let you downshift unless your speed is within the lower gear’s parameters.”
In audio, the parameters referred to are 1. Frequency 2. Amplitude, which is adjusting loudness or reducing output at a selected frequency. 3. Q, essentially how aggressive (narrow, high Q) or gentle (wider, lower Q) an equalizer’s effect is. We simplified ours by testing and presetting Q because we know how much more complex getting results can be when everything is left to the end user. We wanted it to be easy to achieve superb results, not requiring you to become an engineer!
We started this by asking ourselves… Why? What are the biggest challenges our customers face and how can we solve those? The biggest issue of all, it turns out, is the room itself, how do we help customers significantly improve their room’s response?
We quickly realized that virtually every room has two areas that affect delivered system performance (not just the bass). First, nearly all rooms fall off dramatically below 30 Hz. Second, rooms tend to peak around 70-75 Hz. We’ve all heard examples of this, it’s the boomy bass that drives everyone crazy. Some even refer to it as “room boom”.
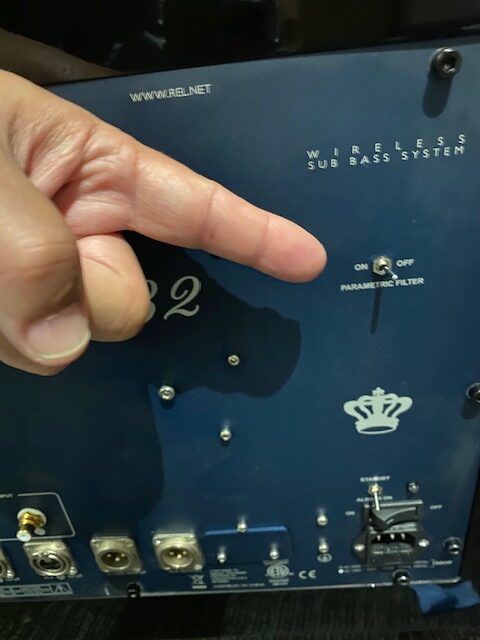
1. To get started, begin by turning “ON” the Filter on the rear panel of your Reference REL. Note that a brief, low-level high-pitched noise is normal whenever adjustments are being made.
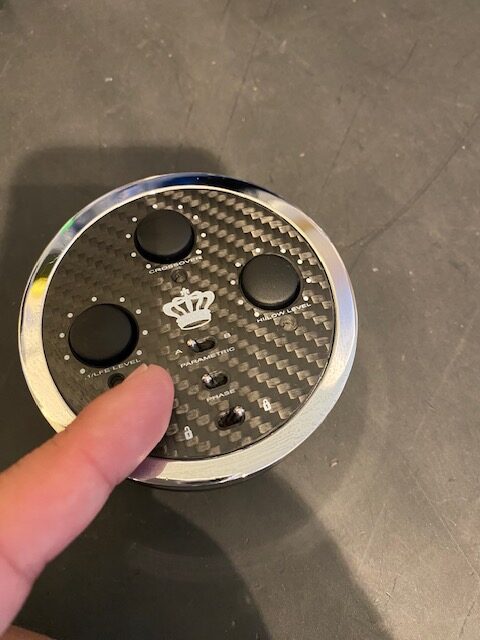
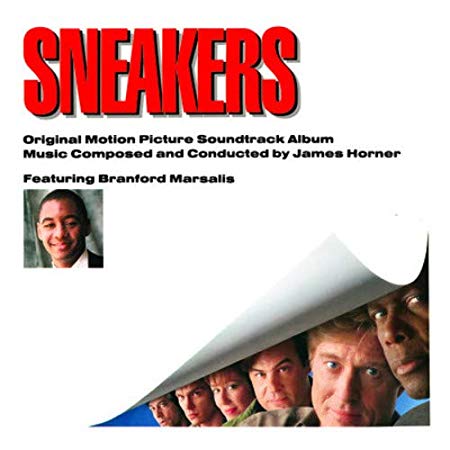
2. We supply (2) analog filters selectable with a simple mini-toggle switch on the face of the Reference remote control. Switch this to “A”. We use A to lift (increase) the low frequency below 30 Hz that’s the direct result of room fall-off in output in all domestic rooms. You will be listening for a richer, more powerful foundation to the bass, one that enhances the sense of power and authority. Use the CD soundtrack to “Sneakers” (a link appears at the end of this blog post)
2a. Set the lowest frequency at 23 23 Hz (using the knob marked .1/LFE on the left of the remote control), then raise the High/Low Gain control to increase (clockwise turn of the knob) to +5. This produces enough additional gain to allow its benefit to be clearly audible. Begin raising the frequency (.1/LFE control) 1 Hz at a time, listening for where the room suddenly comes alive and more energy jumps out until you hit 30 Hz. Note the frequency that seems to be best, but continue raising it to ensure that 1 Hz higher (or lower) isn’t the best choice. In many rooms, this will happen between 24 and 27 Hz. If nothing comes alive you may continue a little beyond 30Hz, but be careful because much higher than 30 Hz is likely to begin interfering with the crossover setting you have chosen.
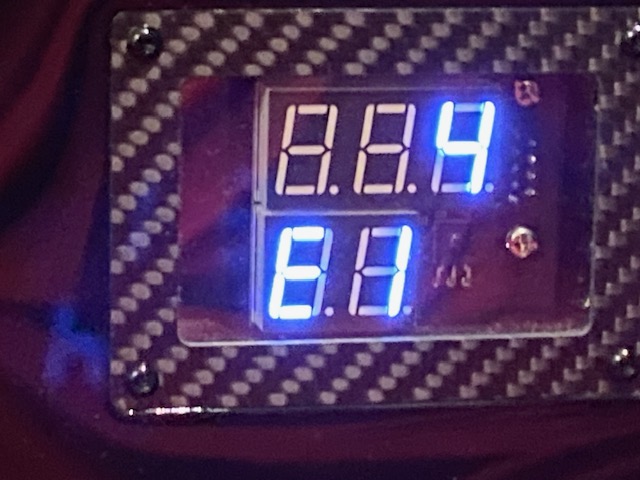
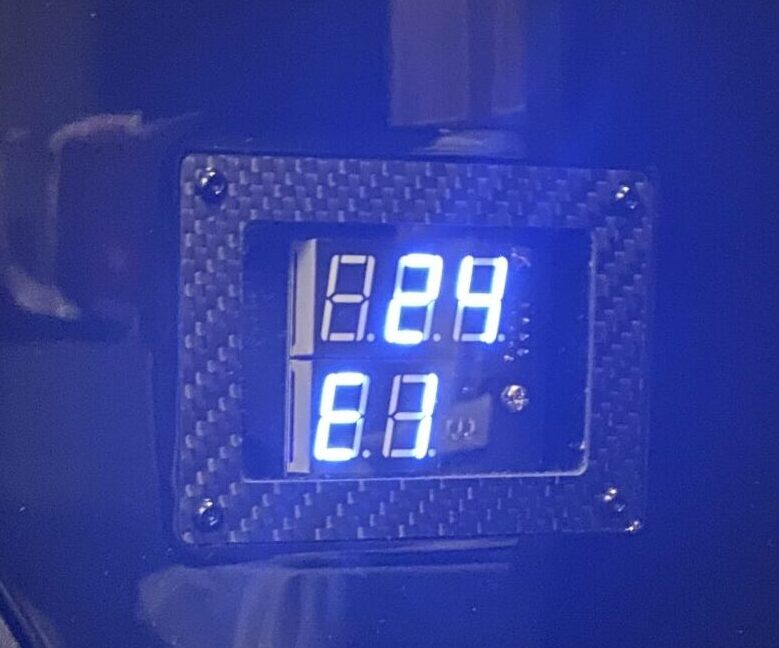
2b. Having settled on a frequency, begin by lowering the Gain to +2 (just enough to ensure that you’ll still reliably hear some improvement) and then listen for increased weight and power in the deep bass, while simultaneously listening to ensure that delicate details are preserved. Slowly increase the gain. Experiment, but please keep in mind that rarely is radically increasing (or cutting) the gain rewarded in Q adjustment. When you get it right, you’ll likely have a setting something like: 24 – 27Hz, +3 to +6 for gain setting. We finished with 24 Hz, + 4 clicks of gain.
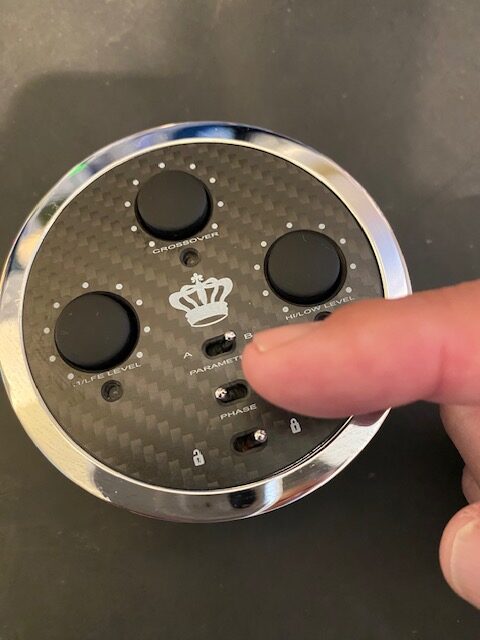
3a. The B filter’s purpose is to lower room gain that builds up around 70-75 Hz. Now switch the EQ Switch over to the “B” setting (this requires flicking through the center detent all the way to the far right). Turn the Gain control down (counterclockwise) until –5 is shown in the display window. Adjust the .1/LFE control (far Left) to a frequency 10 Hz higher than you finished the A-filter setting. In our case, this would be 34 Hz and is also the lowest setting your remote (for No.32 and 31 owners) will permit. For No.25 owners, this is not the case, so please observe our recommendation of not setting it closer than 10 Hz away from the A filter setting you settled upon in Steps 2a-b. Typically, the frequencies that produce the best response lie in the range of 10-30 Hz above the Filter A setting.
Rel Tip: What should you be listening for? We’re reducing the output in the low to mid-bass regions with this B filter. By doing so, we’re both subtly fine-tuning the crossover, as well as reducing overhanging mid-bass that can cause thickness and heavy, plummy bass with less clarity than is ideal. As always, careful judgement(it’s not a race)and writing down your settings will allow you to follow the sonic breadcrumbs back to a reliable starting point.
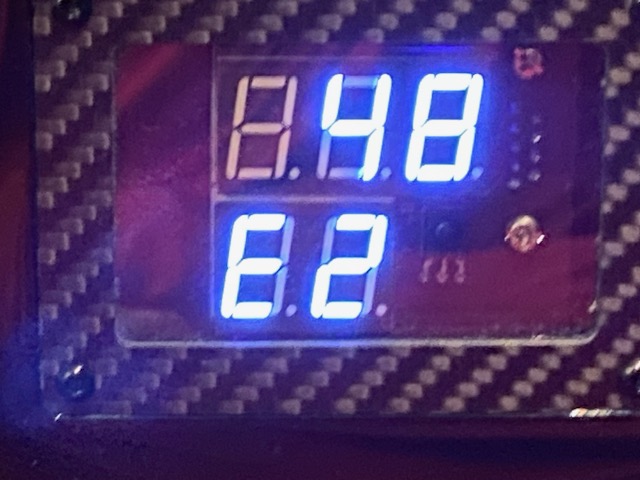
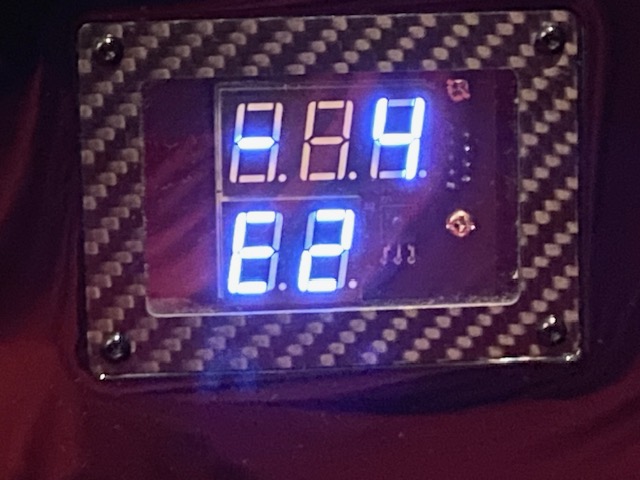
This process is far less limited in frequencies—and it pays to be experimental with the B filter. Often, I have produced very fine results with the B filter frequency (marked .1/LFE) set to a lower frequency (say, 48 Hz) only to note that setting and continue upward to fine, when suddenly at 54 Hz, even better performance is achieved. Do NOT make the mistake of trying to set the frequency to the range of 70-75 Hz, because this is where room gain is a problem. Correcting this area requires decreasing gain at least 1/3 of an octave (about 20 Hz) below these frequencies. Our final setting wound up in our room –4 clicks at 48 Hz.
Being able to offer fast, tuneful equalization is the final technique needed to extract the most from Reference grade RELs. It solves both commonly found room issues while increasing clarity and attack for the entire system, and greatly increasing the potency of the deepest bass. The result is something that once achieved, owners will never go back. While we use the Sneakers soundtrack for music, we have put this technique to work using U-571, the scene early in the movie where two officers are standing on the bridge (shot with a long telephoto lens from a helicopter above) with the submarine porpoising through heavy swales in the North Atlantic. When one gets the A filter right, the sense of weight and heft as the sub slams downward into a swell is incredible and the B-filter allows you to hear the spume flying past your head; something I have heard exactly zero times before using a REL Reference model with parametric EQ correctly set. I ducked the first time I heard it done right. In the end, these seemingly technical tools are all about extracting the final measure of performance from our finest efforts, the incomparable REL Reference models. We hope that by sharing these tips and techniques, it will allow careful listeners to achieve this at home with no special tools, and we can help you attain the highest levels of performance.
Thank you for taking the time to read our latest blog. We hope it proved entertaining, perhaps thought provoking and educational. If you have any follow-up questions, ideas for articles, or a question specific to your systems, don’t hesitate to reach out to us at info@rel.net and we’ll do our best to get back to you within a few days.
Thanks again. We’ll keep doing our bit to bring our combined over 160 years of experience to making your pursuit of perfect sound a bit more enjoyable. And if you know a friend who might benefit from the guidance we shared, please pass this article along.

