

Blog
Small Place, Big Bass. Happy Neighbors?
How Nearfield Placement Delivers No Complaint Bass
Bass reproduction in residential spaces is ALWAYS a problem: especially when the obstacles are a combination of poor acoustics, spatial limitations, architectural issues, and overwhelming negative social pressure.
Bass that emulates real music in real spaces, and reproduced in the home environment is perhaps the final hurdle in achieving a believable facsimile of a live event in a personal space. This is virtually impossible to pull off without bass extension below 30 Hz, and even lower if you wish to capture the feel of the original venue.
If you’re afraid that adding a subwoofer will break your lease, and alienate you from polite society as well, then here is your salvation!
With perseverance and the atypical implementation of a good subwoofer, the end result can be a great audio experience in a less-than-ideal acoustic space, while still peacefully co-existing with “others” who may not share your audio pursuits or musical tastes.
We’ve all seen reviews with great measured performance metrics on loudspeakers. Once we place those perfect transducers within the confines of small acoustic spaces however, those metrics largely cease to be relevant, and the resultant audio experience is often less than riveting.
Measured metrics aside, we’re ultimately only interested in how the equipment behaves in your space, and how you perceive the results. Today we are going to be subjectively addressing music reproduction in an older, urban environment, where common courtesy and continuing residency oblige us to not diminish the peace and enjoyment of others; while only marginally compromising our goals for perfect sound!
Our constraints in this example are:
1) Less than 250 ft / sq of music room space
2) Lightweight drywall construction
3) Suspended floors
4) Minimal insulation
5) Unwillingness to modify the building
6) Cohabitation with non-audiophiles
7) Intimate proximity to non-sympathetic neighbors
One viable but seldom applied solution is mid-to-near field listening. One of the most effective tools we can have in this regard is a highly capable sub-woofer or two. With a highly capable subwoofer, we can put our main “monitor” speakers “mid-field” so that the drivers are only far enough removed from our listening position to properly integrate and image. Our subwoofer will augment the bass and mid-bass, giving us proper spectral top-to-bottom balance and a full range system.
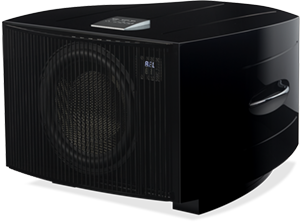
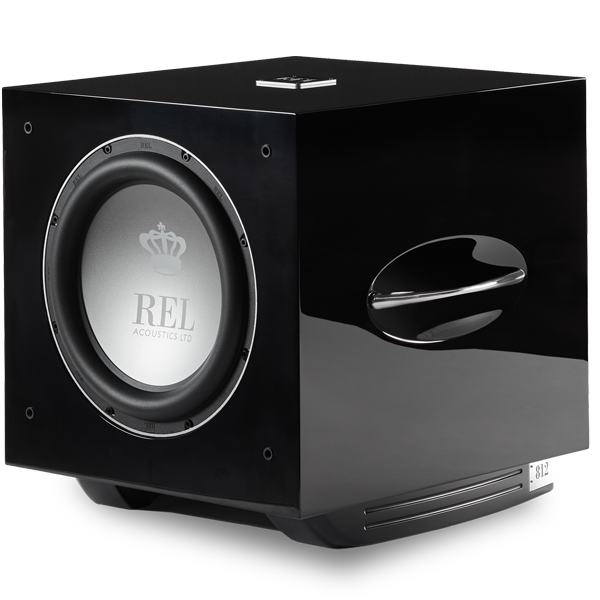
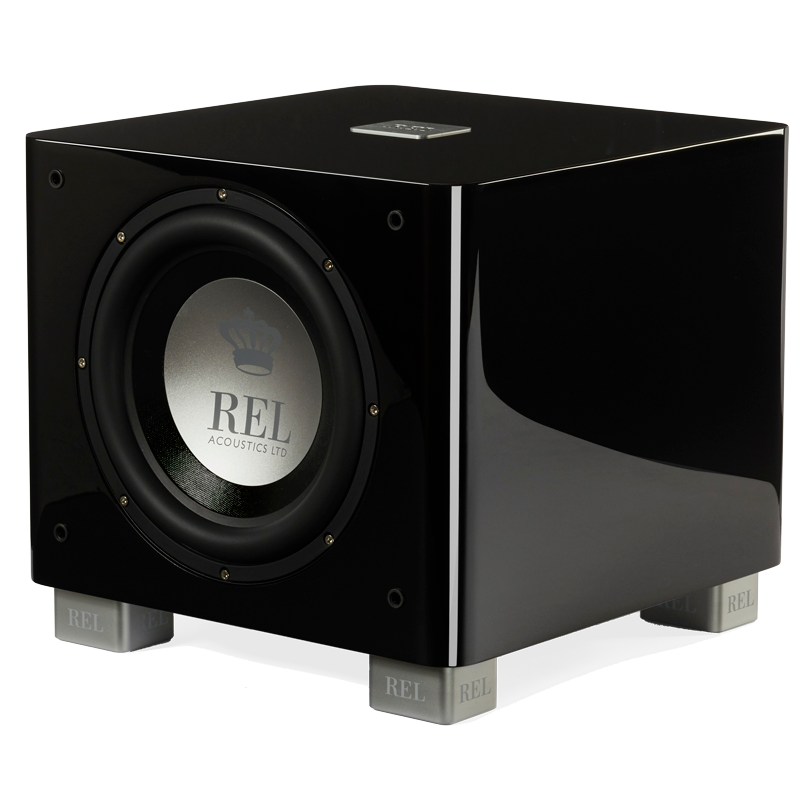
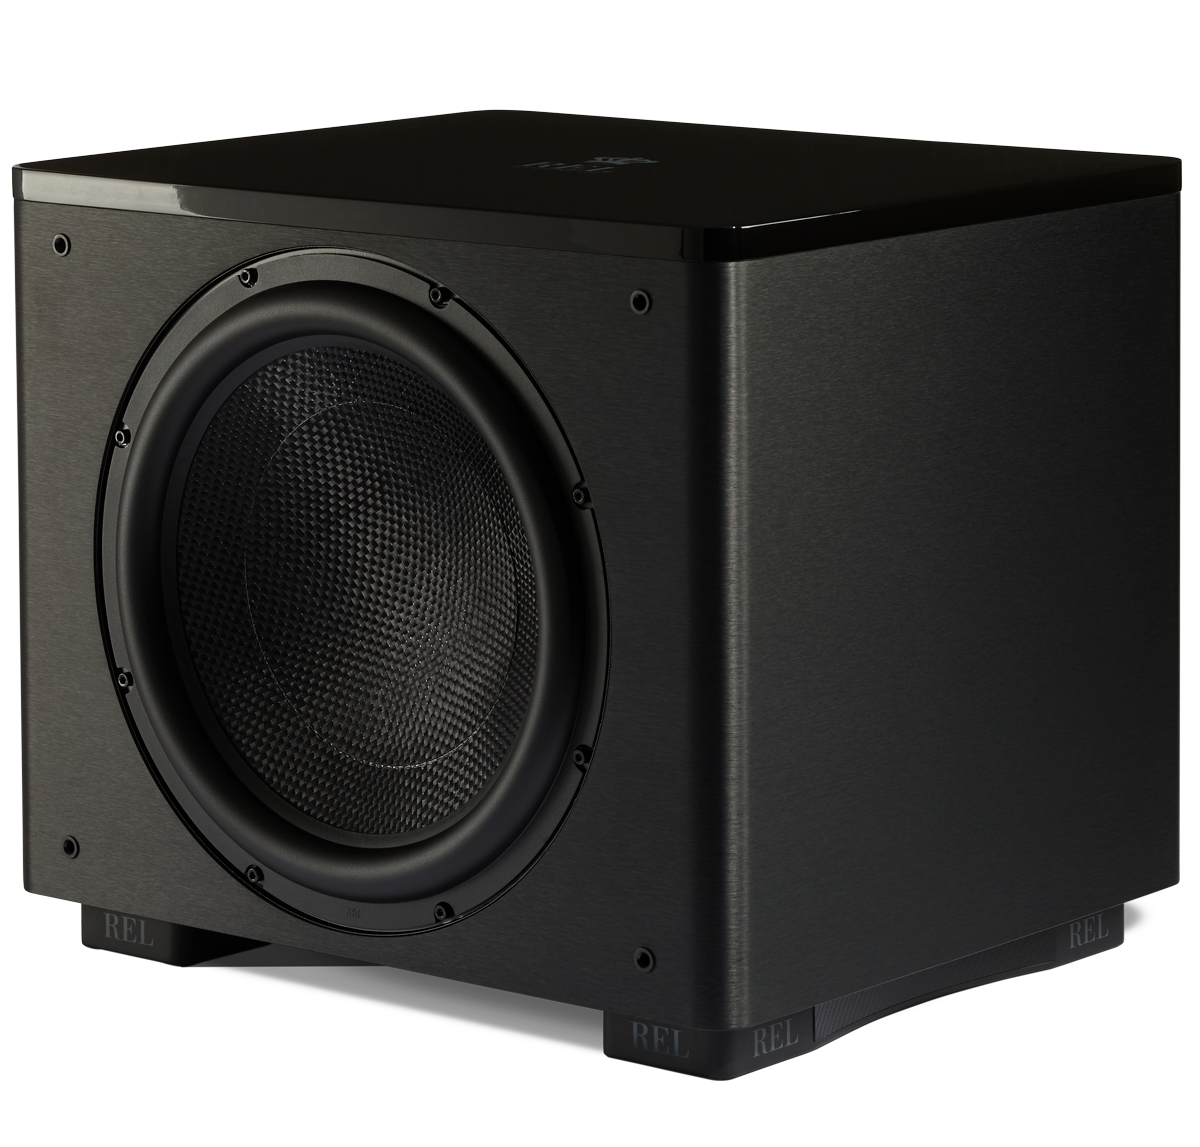
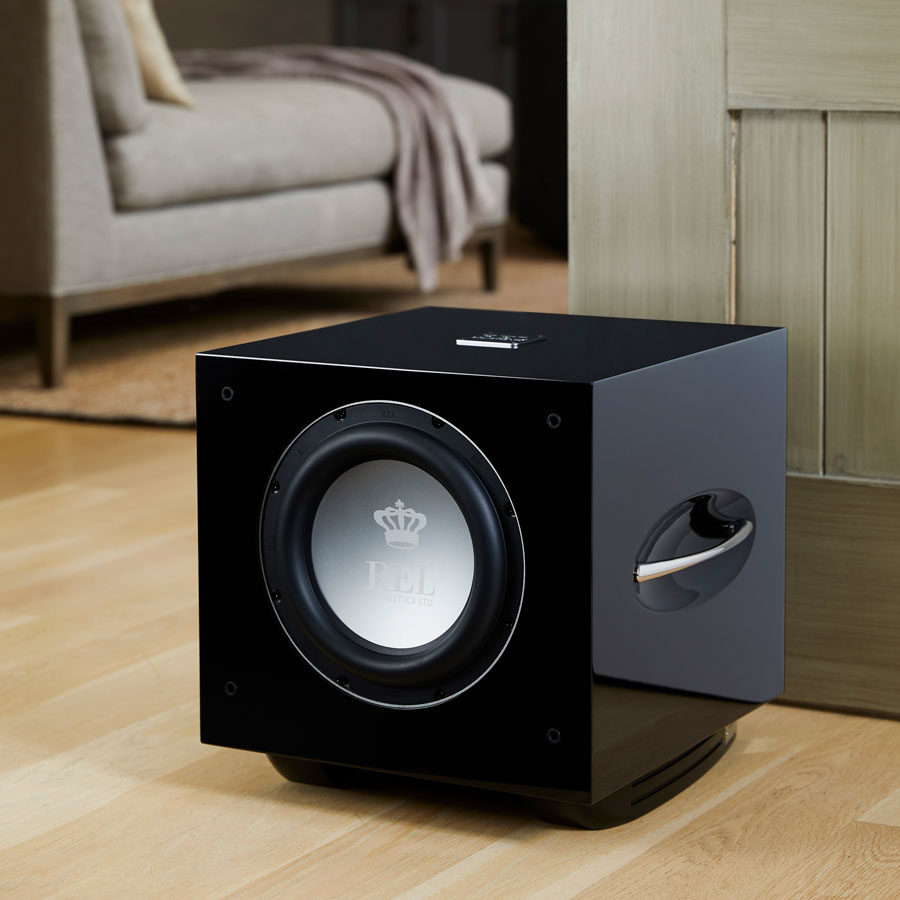
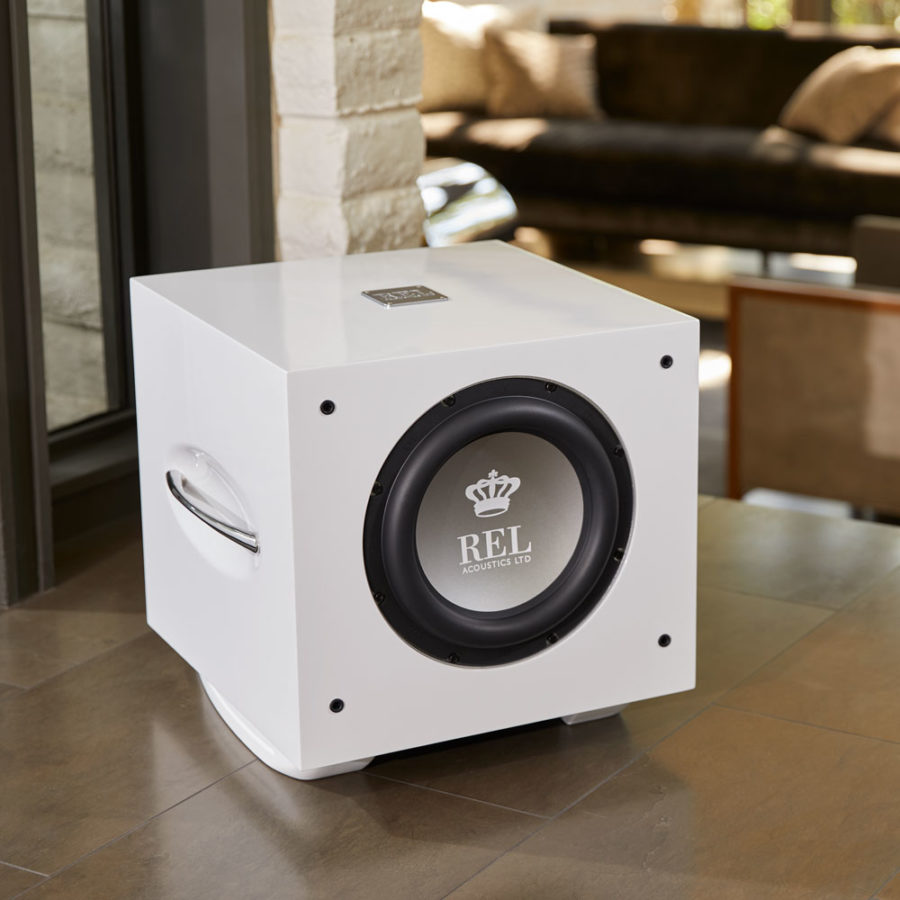
DO NOT MAKE THE MISTAKE OF SELECTING TOO SMALL OF A SUBWOOFER FOR THIS APPLICATION. Real world experience for this application strongly favors stereo subwoofers and subwoofers which predominately cater to music, rather than movie effects. Subwoofers that do this well are not the norm!
Low frequencies travel great distances and easily traverse structures. If you live in an urban space a great way to keep those low frequencies that we love from impacting your neighbors is to simply select a mid-field speaker that is low frequency limited, but with a great mid-range and top end. The classic BBC monitor style “stand-mount / bookshelf” speaker comes to mind. There are many contemporary examples currently in the market.
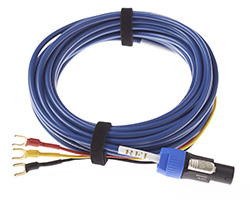
A wireless connection to the subwoofer will always introduce a few ms of acoustical delay to the signal and we can use that delay to our advantage. With luck, that delay may make the subwoofer(s) integration easier in this scenario.
With the conventional and preferred subwoofer in a mid to far field placement, we are now hearing the combined direct signal from the subwoofer and rooms response to the subwoofer. If you place the subwoofer(s) very near the field, you don’t change the woofer’s interaction with the space. You do, however, enjoy a greater percentage of direct signal from the subwoofer. This increased direct signal, along with more intimate placement, allows us to greatly reduce the total energy from the subwoofer in relation to the signal coming from the main speakers. While still maintaining a perceived correct spectral balance between the mains and the subs at our listening location.
Now we apply a trick common to recording studio’s that no one talks about: place your highly capable subwoofer in the very near field and consider making your connection to the subwoofer “wireless” rather than hardwired.
Putting less low-frequency energy into your listening space results in much less energy bleed impacting your co-habitants and neighbors. Hearing a greater percentage of the subwoofer’s direct energy also maintains the spectral balance we’re seeking. This is a win-win scenario and, in terms of implementation effort, it’s “low-hanging fruit”.
DISADVANTAGES
1) A single very near field subwoofer, sometimes gives up spatial detail to what we might get if the same subwoofer were placed optimally and conventionally in the room.
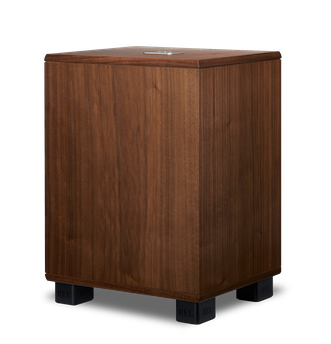
2) The subwoofer is going to visually dominate the space.
3) The subwoofer must be capable of adequate response below 30 Hz, without the benefit of any boundary re-enforcement from the environment. (This favors larger sub-woofers.)
4) A subwoofer and the prime listening spot must be free of boundary enforcement zones, which is to say, well away from walls and corners
ADVANTAGES
1) The near-field subwoofer is far less likely to generate excessive room modes.
2) The near-field subwoofer is less likely to generate spurious vibrations within the structure
3) The near-field subwoofer is less likely to become an annoyance to occupants of adjacent structures
4) The near-field subwoofer may require less post correction to achieve a smooth in room response
REL’s filter selections where you bring the sub in at or slightly below your main speakers output is ideal for very near field subwoofer implementation.
PROCEDURE
My personal protocols for driver break-in involve driving woofers / subwoofers with low-frequency sweeps at 80dB for 8 hours. (A five-second sweep, followed by 5 seconds of rest… repeat. repeat… repeat). The 80dB limit was chosen arbitrarily: In my space 80dB did not seem to stress the amp, the driver, or the affected occupants. Your results may vary!
(CAVEAT: the break-in playback level should exceed your normal playback levels)
NUTS AND BOLTS
(NOTE: From here on out it gets quasi-technical. You can achieve the same results via trial and error, it just takes longer)
1) Tools
a) Real Time Analyzer / SPL meter (cell phone based)
b) 1 kHz test tone (download)
c) Test tone at your speakers lower -6dB knee (typically between 40 – 90 Hz derived experimentally and in situ.)
2) Calibration: Level Setting
a) Set up your RTA / SPL meter at your listening position, and your microphone at ear level.
b) Apply a 1 kHz test tone to your speakers and set the level for comfortable playback (something less than 80 dB)
c) Lower the test tone frequency experimentally to the -6dB point. (74 dB)
Note and record the – 6dB frequency, and remove signal from the main speakers.
3) Subwoofer Placement
a) Place your subwoofer next to your listening position.
b) Avoid placement that locates your subwoofer near any walls. (This is critical)
c) Avoid directing the output of your subwoofer into room corners (this too is critical)
4) Equalization
a) In step 2C you identified the lower frequency -6dB point of your speaker in your room.
b) Set your subwoofer crossover to that frequency or slightly lower
c) Apply your -6dB test tone to your subwoofer, and raise the level of the subwoofer to such that it matches the – 6dB level from your loudspeakers at the listening position.
5) Phasing
a) Apply the -6dB test tone to the main speaker and the subwoofer concurrently.
b) Increase the level of both the main speakers and the subwoofer (at the source) to your normal listening level.
c) Adjust the phase control on the subwoofer for maximum output at the established crossover frequency
d) Switching from SPL to more of an RTA function you can refine the crossover and level settings for the smoothest in-room response
DISCUSSION
This is your start point for settings, not necessarily your endpoint. Going forward, make careful notes of the subwoofer level settings. Take photos of the subwoofer settings, and start a diary.
Trust your measurements and believe your ears. Part of the audio experience is a willing suspension of disbelief. Your ears are not microphones and your brain is not a computer. The goal is to find a balance between what measures ideal and what sounds real.
From this point, you are going to be refining the settings. The natural tendency is to set the crossover too high and the levels too low. You shouldn’t notice the subwoofer, if it is properly adjusted, until it’s truly called for. At that point, the subwoofers output should seem to come from somewhere other than from the subwoofer.
One of my current test tracks is the Pink Floyd “Animals – 2018 remix”.
During playback of this recording, you should barely be aware of any low frequency content, until the “bass drop” 6 minutes into track 3 (pigs). At this point the sub action should be very pronounced, but still tight and articulate, with no boom or bloom and nary a hint that it’s coming from the subwoofer.
The same applies with Bruno Mars / Anderson Paak’s “An Evening With Silk Sonic” Track #2 “Fly as Me”. On this, and the first cut of the album, bass notes should be very restrained, until they are not. The bass notes should present with body and gravitas; and should not suffer from bloat and overhang.
As previously indicated, stereo subs are generally far superior at conveying the spatial characteristics of a recording space, but even a single subwoofer can be revelatory!
TO BE CONTINUED……….