

Blog
Recommended AVR Settings
How to Setup Your Receiver or Processor for Optimal Performance

Setting up a theater properly involves using your remote to enter into the somewhat scary world of a typical Audio Video Receiver’s setup menu and navigating through it. The problem is, no one bothers to teach customers what selections to make and why. Below, we asked three of our more experienced field hands to describe what they do when they go into a store to help make better theater sound for our dealers. And note, not once did anyone reach for an owner’s manual or microphone and room correction software.
Here are Paul, Clay and Jerrad: The task at hand looks simple, yet once you dive in, you’ll realize how much you can really improve your system if you do it by following these simple steps. We recommend not settling for the default software built into the AVR, but rather setting the system up by ear and investing time in something you find very important to you, your home entertainment.
The Basics:
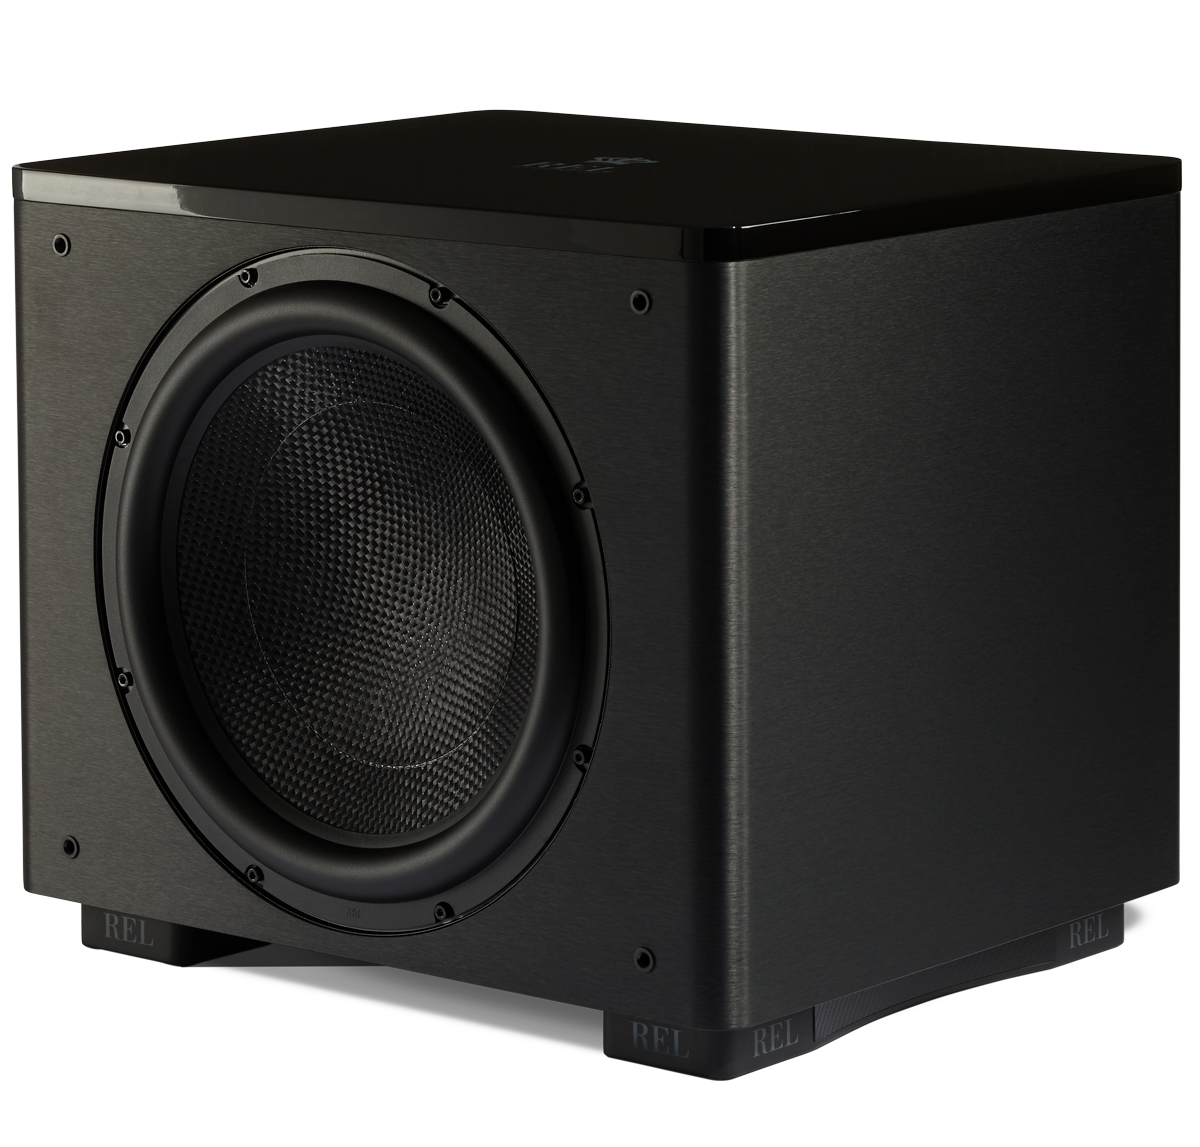
When setting up a REL with High Level connection we always recommend first setting the crossover and gain to be optimized for a 2 channel system before tuning the .1/LFE.
Learn more about why we recommend using the high level connection in our recent video.
A. For a mixed 2-channel and home theater systems we recommend connecting both high-level (low level when high level is NOT possible, such as when using active powered loudspeakers), PLUS .1 LFE.
- High level connection will provide you with the full range sound that Dolby Labs assumes you’ll have in your theater system.
- The .1/LFE channel is intended to provide you with the special effects necessary for larger-than-life scenes; the dynamic, bombastic effects we all crave when watching that John Wick movie.
Here it is critical to note, if you insist on running the built-in Room Correction software, it is critical to DISCONNECT the high-level cable before doing so, leaving only the .1 /LFE connection. For this step we recommend setting the receiver’s volume to 1/3 of max level as the DSP program will instruct you to adjust this during the calibration depending on your room.
Learn more about setting up a REL with auto correction in our video tutorial.
The Basics Part II:
To keep things simple, we will focus on using a Marantz/Denon setup. Other manufactures operate similarly with slightly different menu structures, but close enough to use this guide. It is also worth pointing out that neither Marantz nor Denon permit use of truly FULL Range out of any of your speakers in theater modes. Yamaha, Arcam, Onkyo and others do still permit Full Range operation when used in theatre (except Dolby Atmos channels that are limited by license).
Step 1:
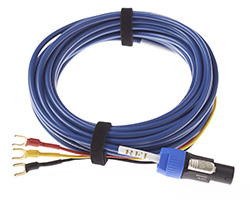
Determine what class of Amp/AVR you own. This is a critical step as it will dictate how you will wire up your High-Level cable. Class A/B, once common, is giving way in many cases to Class D which requires NOT connecting the black ground wire on REL’s supplied High Level connection. Instead, signal ground is created when the .1/LFE interconnect cable is plugged in, as it is when using any receiver/subwoofer combination for theater use.
ProTip: Easiest way to tell a Class D receiver? Pick the receiver up. If it’s heavy, it’s likely Class A/B if it’s light it’s surely a Class D amp as these operate on a different principle and do not require heavy power transformers to amplify sound.

Step 2:
Determine speaker and subwoofer placement and wire up your REL according to the type of Amp/AVR you have. Our speaker placement guide can be a helpful tool at this step of the setup process.
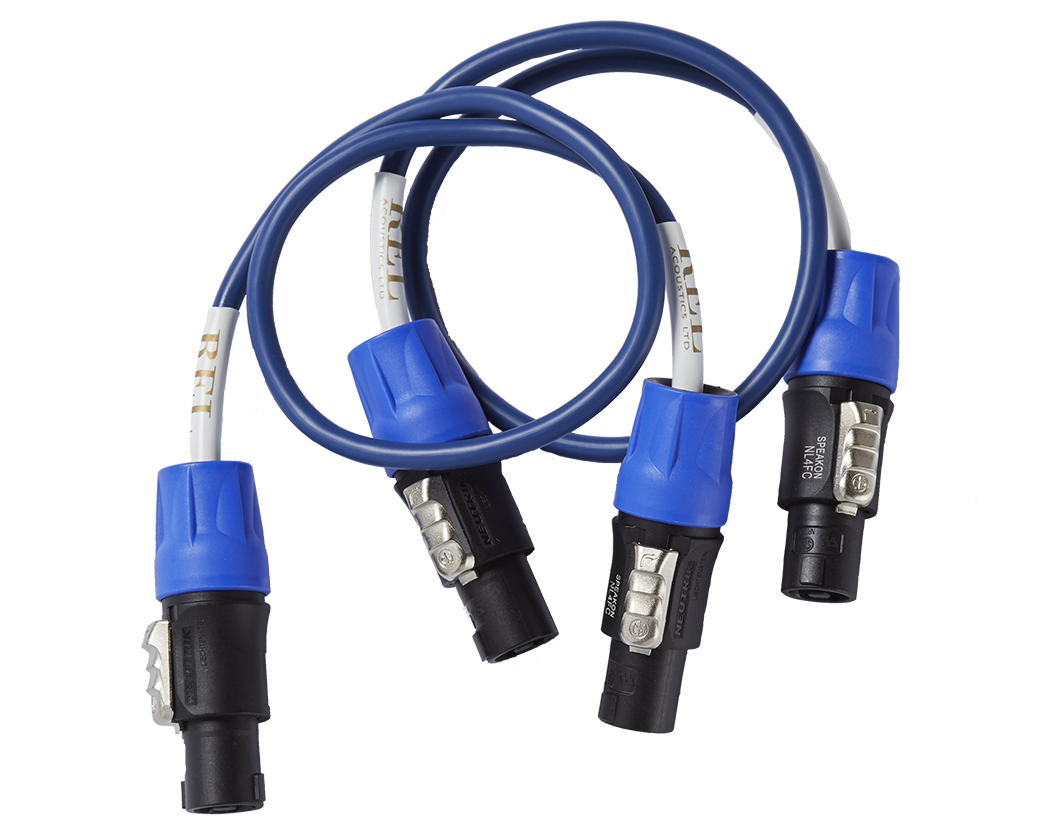
- Hook up both the high-level and .1/LFE for your mains
- Hook up high-level only for your Center channel (for convenience you can connect the red and yellow wires to + and the black wire to – on the rear of your center channel with the high-level cable)
- Hook up high-level and .1/LFE for your rears.
Learn why we recommend connecting to both .1/LFE and high level simultaneously.
Step 3:
AVR/Preamp set-up
1. In the AVR/Preamp menu set your main Left and Right speakers to Large. One Denon and Marantz receivers this setting does not permit your home theater processor/receiver to send a full range signal to your mains, as it will only permit your speakers to extend down to 40 Hz. Manufacturers whose receivers DO permit this wiil generate noticeably more and deeper bass when using REL High Level connection.
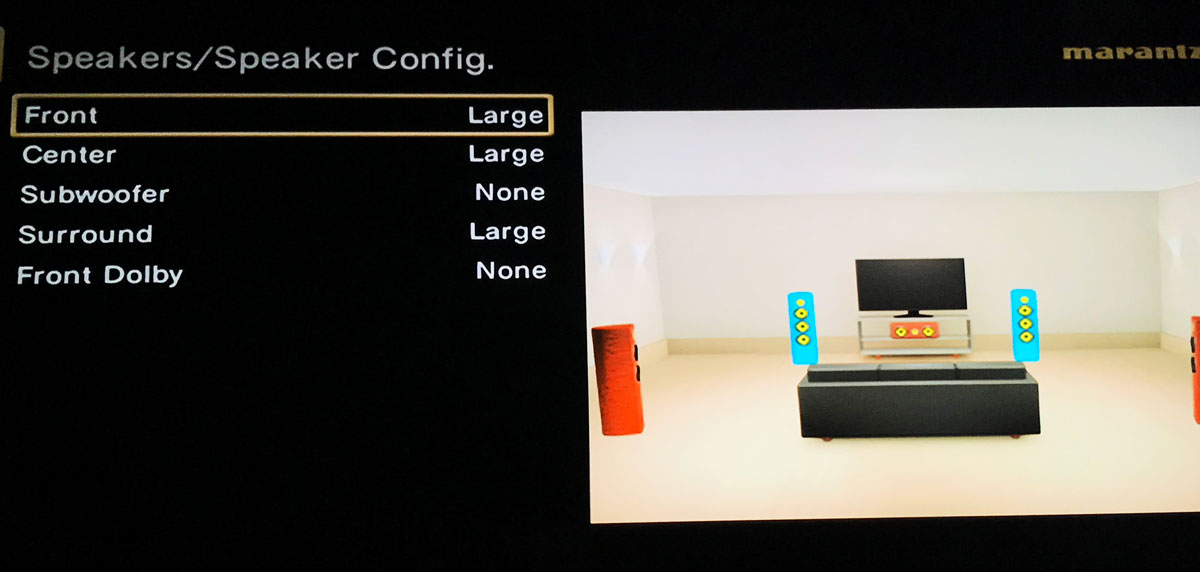
2. In the AVR/Preamp menu set your center channel to Large as well for the same reasoning as above.
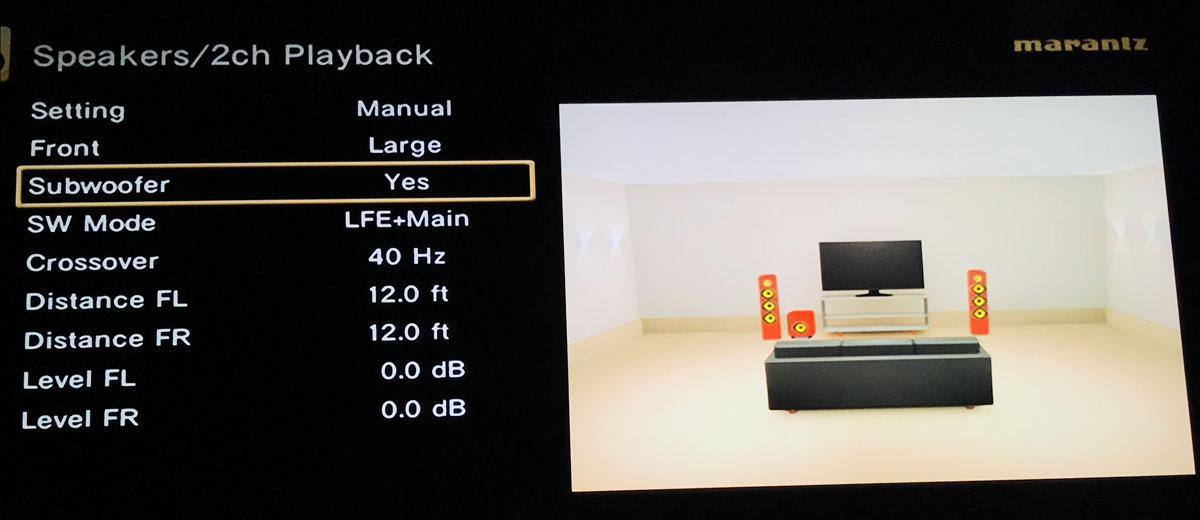
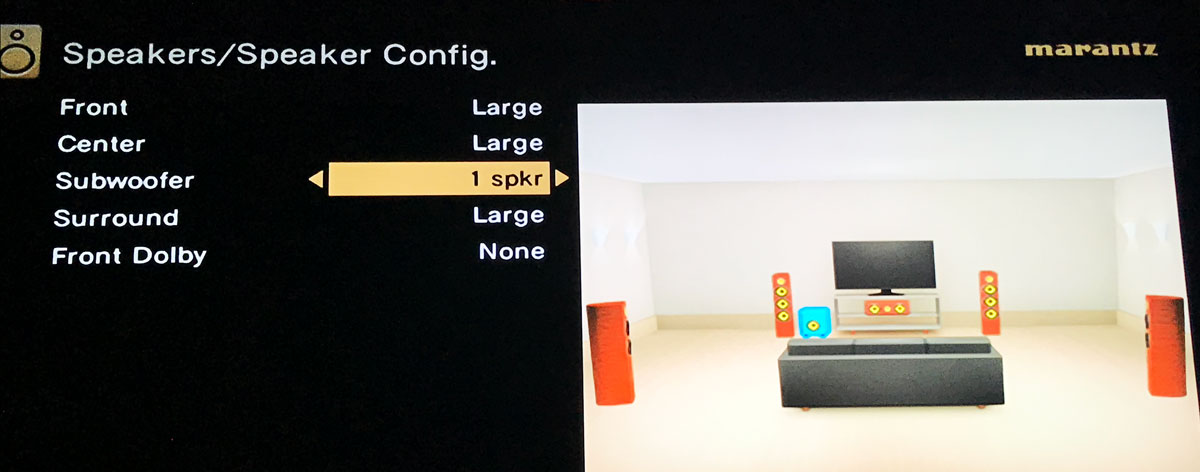
3. Select subwoofer Yes.
4. Set your Rears to Large as well.
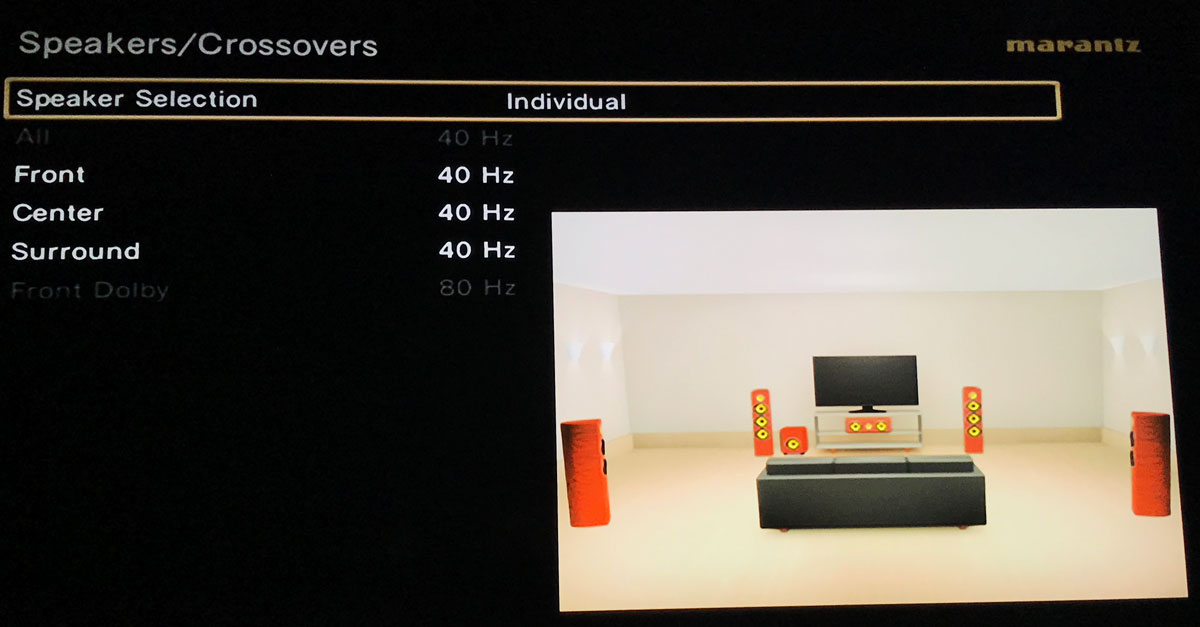
5. Move down to Crossovers and make sure that Front, Center and Surrounds are set to as low as it allows…40hz is the lowest that the Marantz/Denon will allow you to take it to.
Step 4:
Now it’s time to focus on some settings that may have scared you in the past (we were always intimidated by them). Levels and Delays. But don’t be intimated as this is where the magic can happen so have fun playing in this realm.
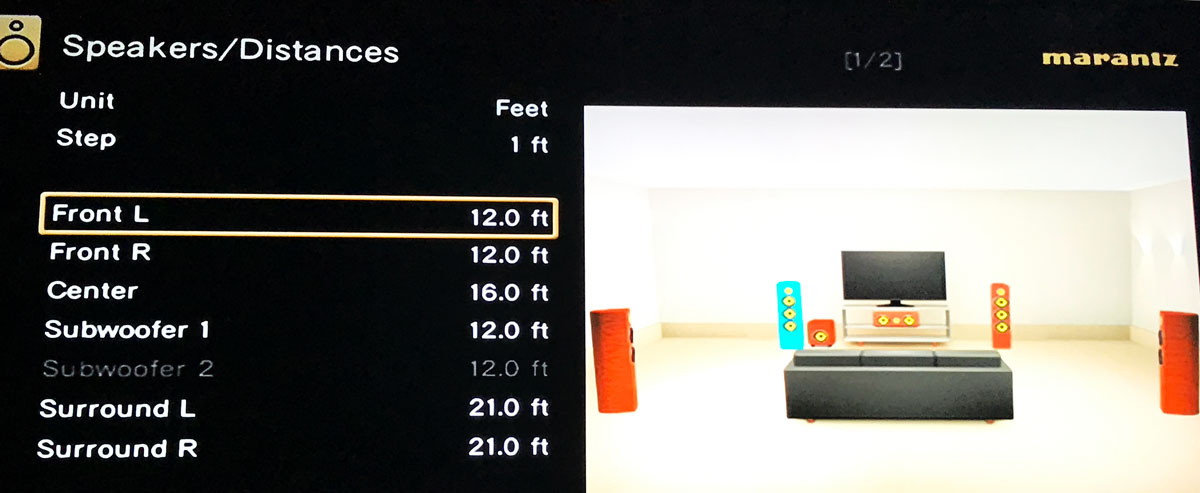
1. Using our example of Marantz/Denon, set the distances at 12.0 ft for your Front L & R speakers. Any deviation off of this will decrease or increase your output (once again, the nannies at these companies assume you can’t make decisions on your own, so they alter level as you adjust delay. So, leave this at 12.0 ft. (Feet or meters are just an easy way to understand delay settings, it actually is measured in milliseconds or ms, and it is simply telling your processor how much to delay the signal going out to your various speaker channels.
2. Moving on to the ever-so-important center channel, virtually all of the dialogue and events that are taking place on screen are running thru this speaker (yet the quality of the center channel is often overlooked). This is the reason that it’s crucial to have a full range signal playing back thru this speaker and utilizing a REL can help you achieve this.
3. Find a movie and scene that you are very familiar with, we use track 3* of “Fantastic Beasts and Where to Find Them” the scene where the main character is walking along a cobblestone street, London circa 1920.

* Note that in different international markets, chapter breaks vary significantly. The brief scene described here lies at approximately the 18:30 mark (starts with man looking pensively skyward standing on dark pavement) and only runs approx. 8 seconds. Listen for the rattle and cough of the old truck tracking right-to-left as well as the sounds of pedestrians walking around the listener. When you get it right, all these fill naturally around you. On truly hi rez REL 3-D systems you can actually sense Foley effects being punched in when the subs are removed and all the minor sounds take on a hard staccato quality.
4. Start by adding 3 ft (3 ms) from the 12 ft you used on your L & R speaker. This will start your center channel at 15 ft on your Marantz/Denon. Play the scene you have picked while adjusting to 16 feet and repeat the process until you get the center channel to lay into the soundstage created by your main Left and Right speakers. Too small a delay figure and the sound will be sharp, hard and aggressive. Too large a delay figure and the sound will be soft, indistinct and murky. Get it right and speech is intelligible without being too loud, background effects naturally support the main onscreen event.
ProTip1: Level and Delay interact. Get Delay right but Level one click too low and the effect can be deceiving, speech is not clear. Get volume too high and delay too short and the sound can be too aggressive. Work patiently back and forth once you feel you’re in the right area and refine your results.
ProTip2: The larger the number, the more you are delaying. Bigger numbers (15–30) will sound softer and larger in scale while numbers between 12 and 15 will sound sharper/harder as delay is removed.
5. The Rear surround speakers are responsible for the overall scale of space. Again, these are set at 12 feet from the factory. Depending on the size of your room, start with a delay of an additional 6’(from the 12’ you used on the front L&R so 18’ for the rears) for a smaller listening area and up to an additional 9’(21’)for a medium sized room. The larger the number=the larger the space you’ve created. Once these are done correctly and with a lot of patience, you will feel like you are part of the scene, and your ears will experience exactly what your eyes are seeing. Truly amazing and you’ll never look at the home theater experience the same way again.
Step 5:
Moving onto Levels
1. Utilize an SPL (sound pressure level) meter. Either a hand-held meter or download an app that has one (Obviously the downloaded one isn’t the most accurate, but for this exercise we just need a relative reference). The Level adjustment will send out a pink noise signal—sounds like static—that is used to simulate all frequencies blended at the same time. If the sound is not loud enough, turn it up to suit your needs but be forewarned when you insert a disc, the level will be MUCH louder. Do not damage your system, turn the level back down to 65 to start viewing and fine tuning.
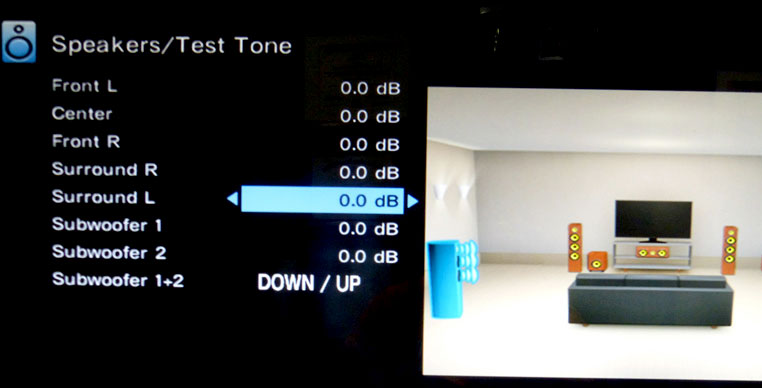
2. Set the volume control on your receiver to a reference point, (typically use 65 as reference on the Marantz/Denon receivers), then select Manual in the Levels setting (this will allow you to move from one speaker to another around the room).
3. Set up your meter in your listening position at ear level and then move from one speaker to another using the pink noise that the receiver will generate. Make the adjustments as needed to ensure each channel’s output level is the same SPL as all the other channels.
4. Experienced listeners can start begin with Left Main and scroll through each channel listening to ensure the levels are the same or similar, bounce back and forth to verify similar levels. The biggest challenge is the huge timbral mismatches—especially between center channel and L-R mains, or between rear surrounds and ANY other channel– due to their generally smaller size.
5. Moving on to Bass settings, here in Subwoofer mode you’ll want to select LFE + Main, (this will allow bass frequencies to be sent to subwoofer during 2 channel play-back thru the .1/LFE cable if you’re using an HT Serie, if using the high-level cable this can be set to LFE only).
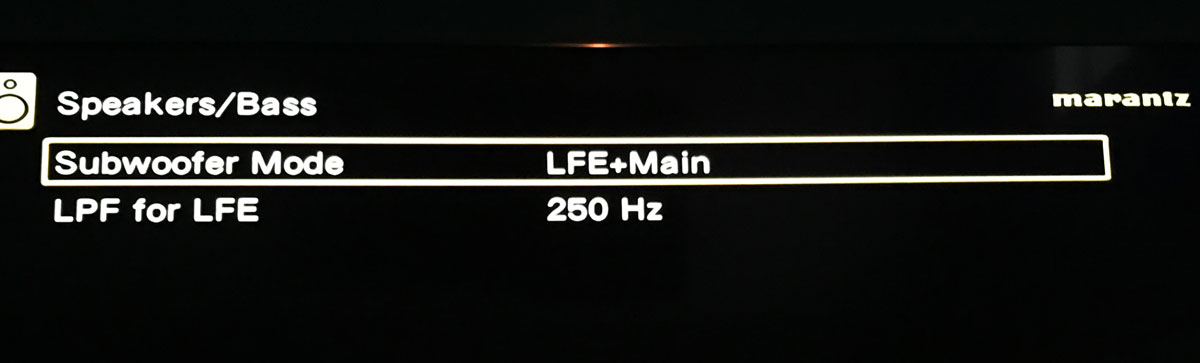
6. Set the LPF, (Low Pass Filter) for LFE as high as you can set it, Marantz/Denon will go up to 250hz. This will then allow you to use our superior filters to adjust the crossover on your REL.
Learn more about how to tune the crossover and gain on your subwoofer here.
Hopefully by setting this up yourself this will lead to a better understanding of your system. Go slowly, be patient with yourself. It’s a sometimes tedious process bouncing back and forth between settings and making judgements as to whether the sound is more natural or something has been lost. But you’ll have a far better experience than using a generic factory default, one worthy of the investment you’ve made. And you’ll enjoy the process of watching movies and be able to take pride in the final result as you’ll have so much better an idea of what is happening during the movie than someone who used factory defaults or room correction and simply trusts and hopes that they are experiencing what they’re supposed to.
Now go enjoy a movie!